
MIPI
This document details the identification, connection methods, system configuration, and troubleshooting for the MIPI-DSI display interface on the Quectel Pi H1 single-board computer, using a Waveshare 8-inch DSI IPS capacitive touchscreen as an example.
MIPI display connection
Follow the diagram below for connection:
Note: This display has 4 power supply interfaces, so choose any one. In this example, power is supplied at position "1".
- Type-C interface.
- I2C communication and power supply interface.
- 5V input/output interface.
- I2C communication and power supply interface. Align the screw holes with the Quectel Pi H1 single-board computer and tighten the screws to ensure firm contact between the pogo pins and the 40-pin header.
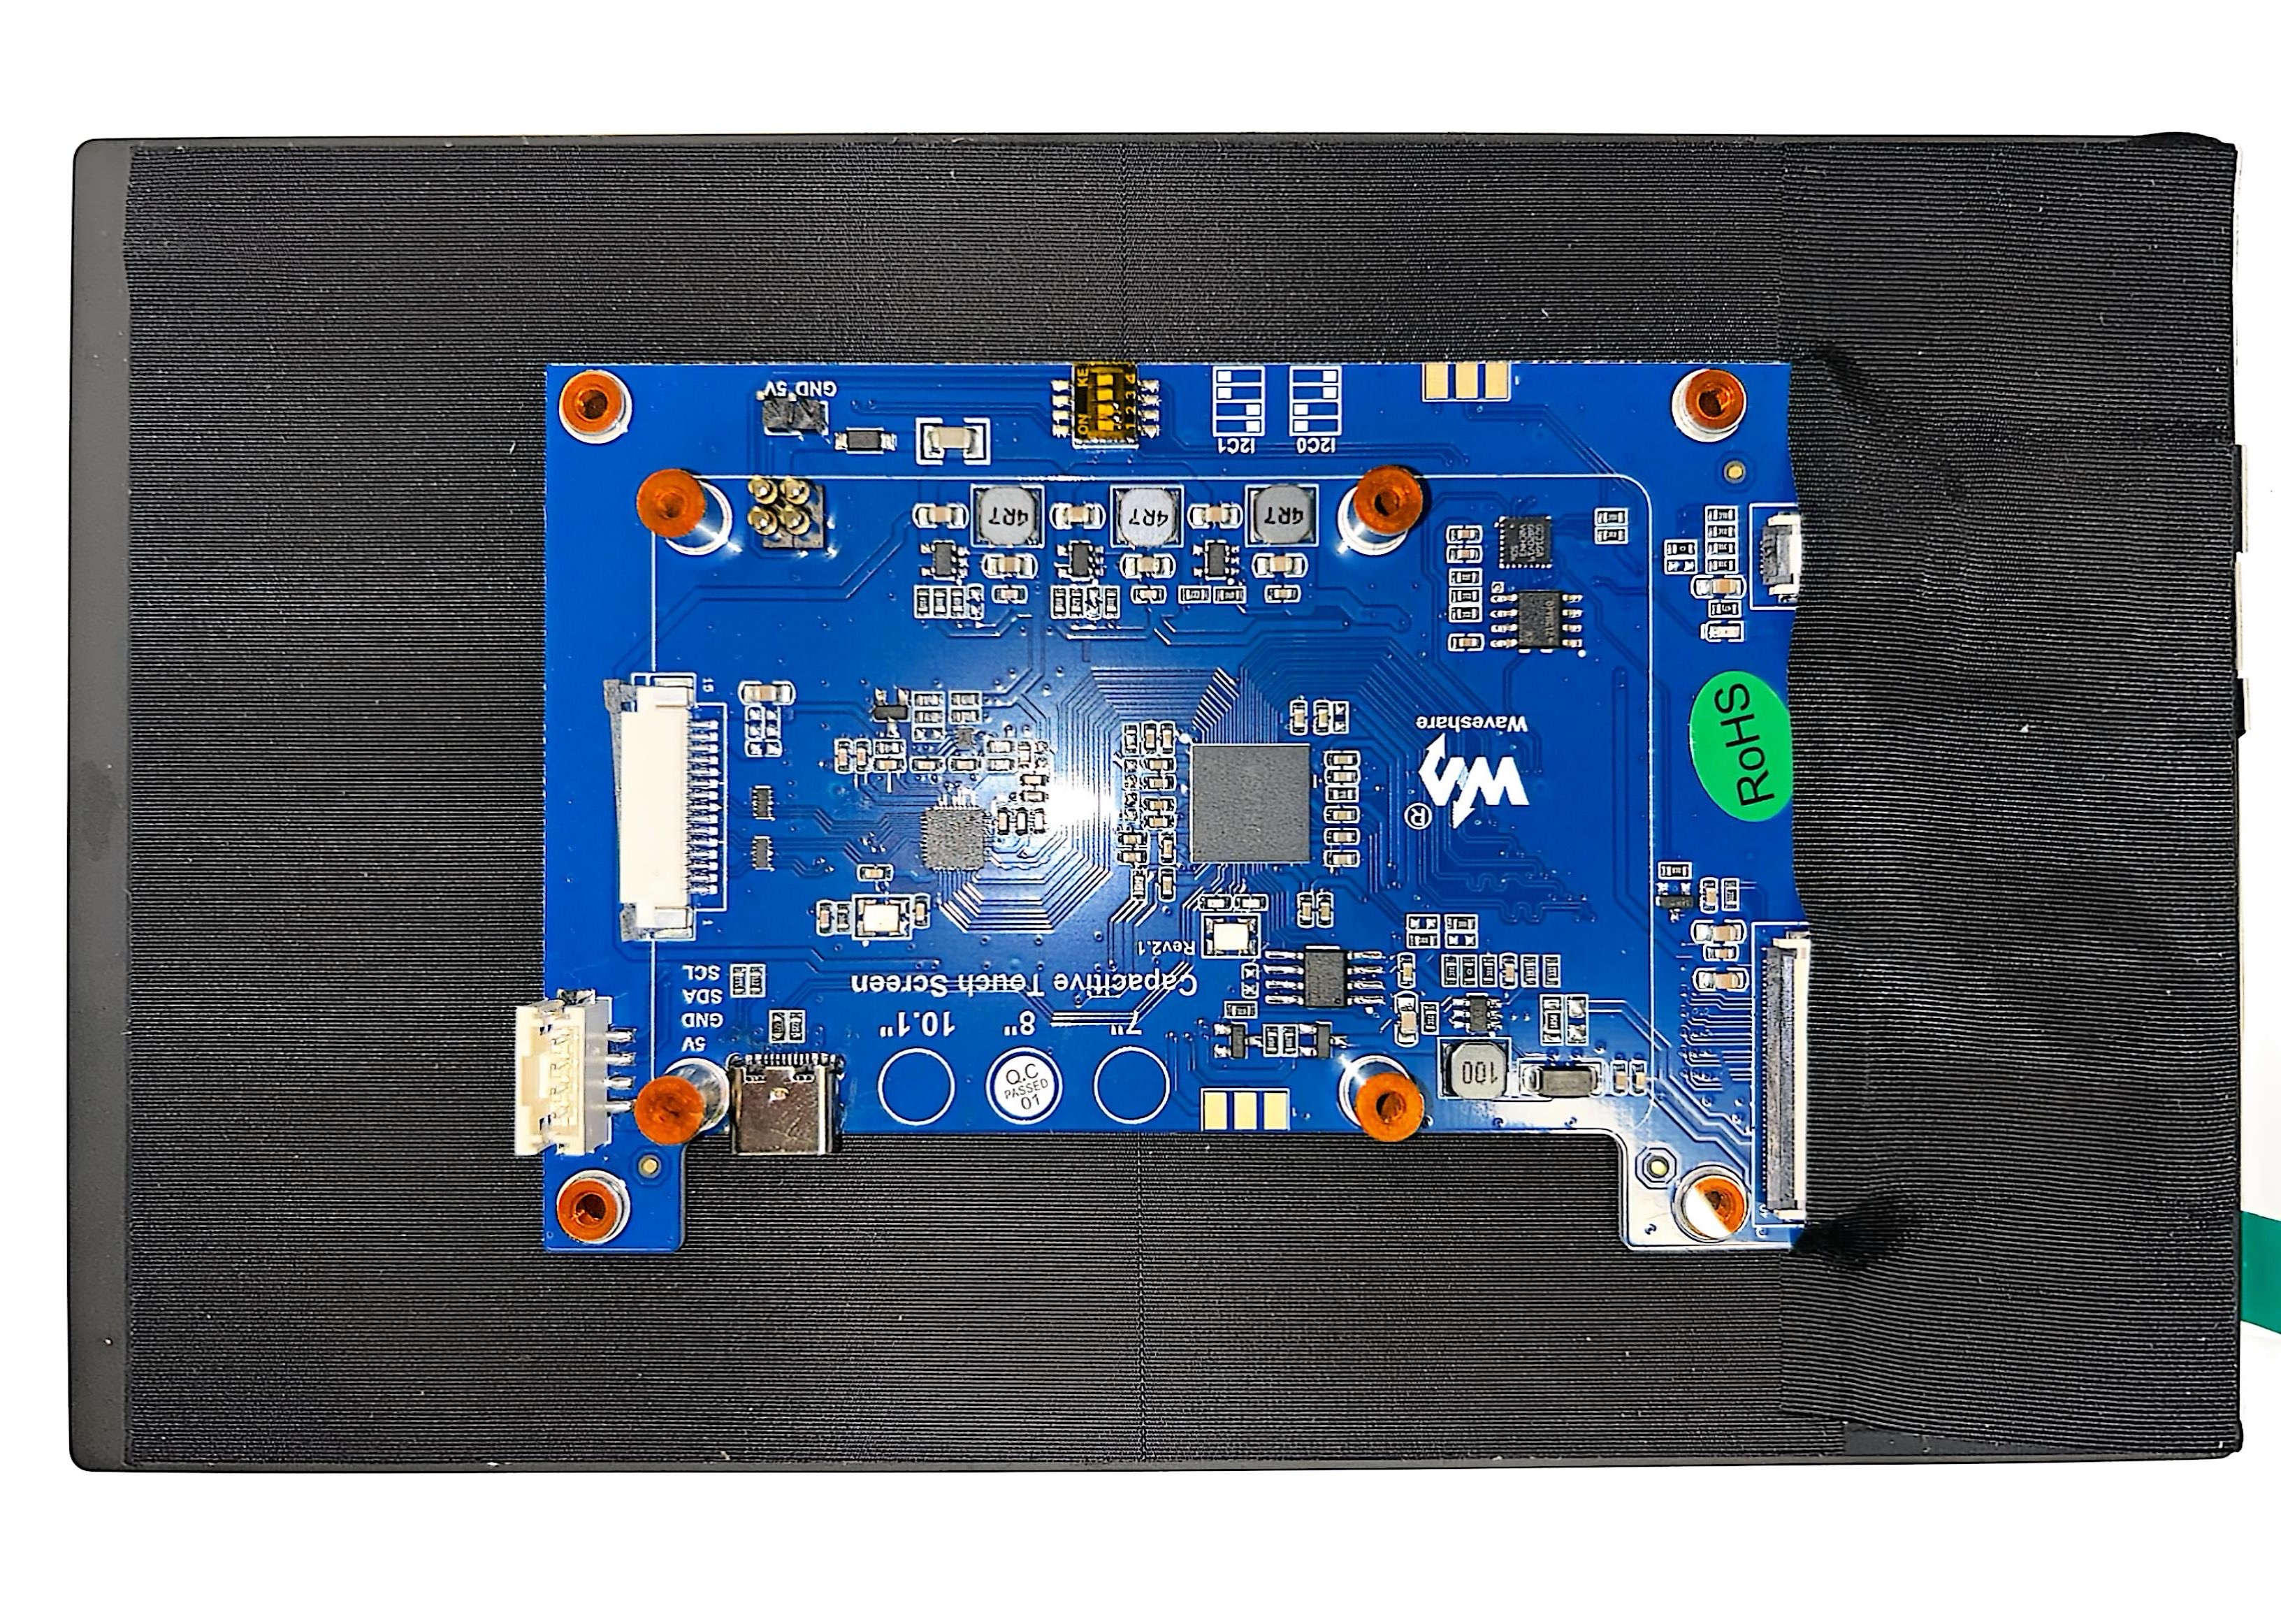
Back view of Waveshare 8-inch MIPI display
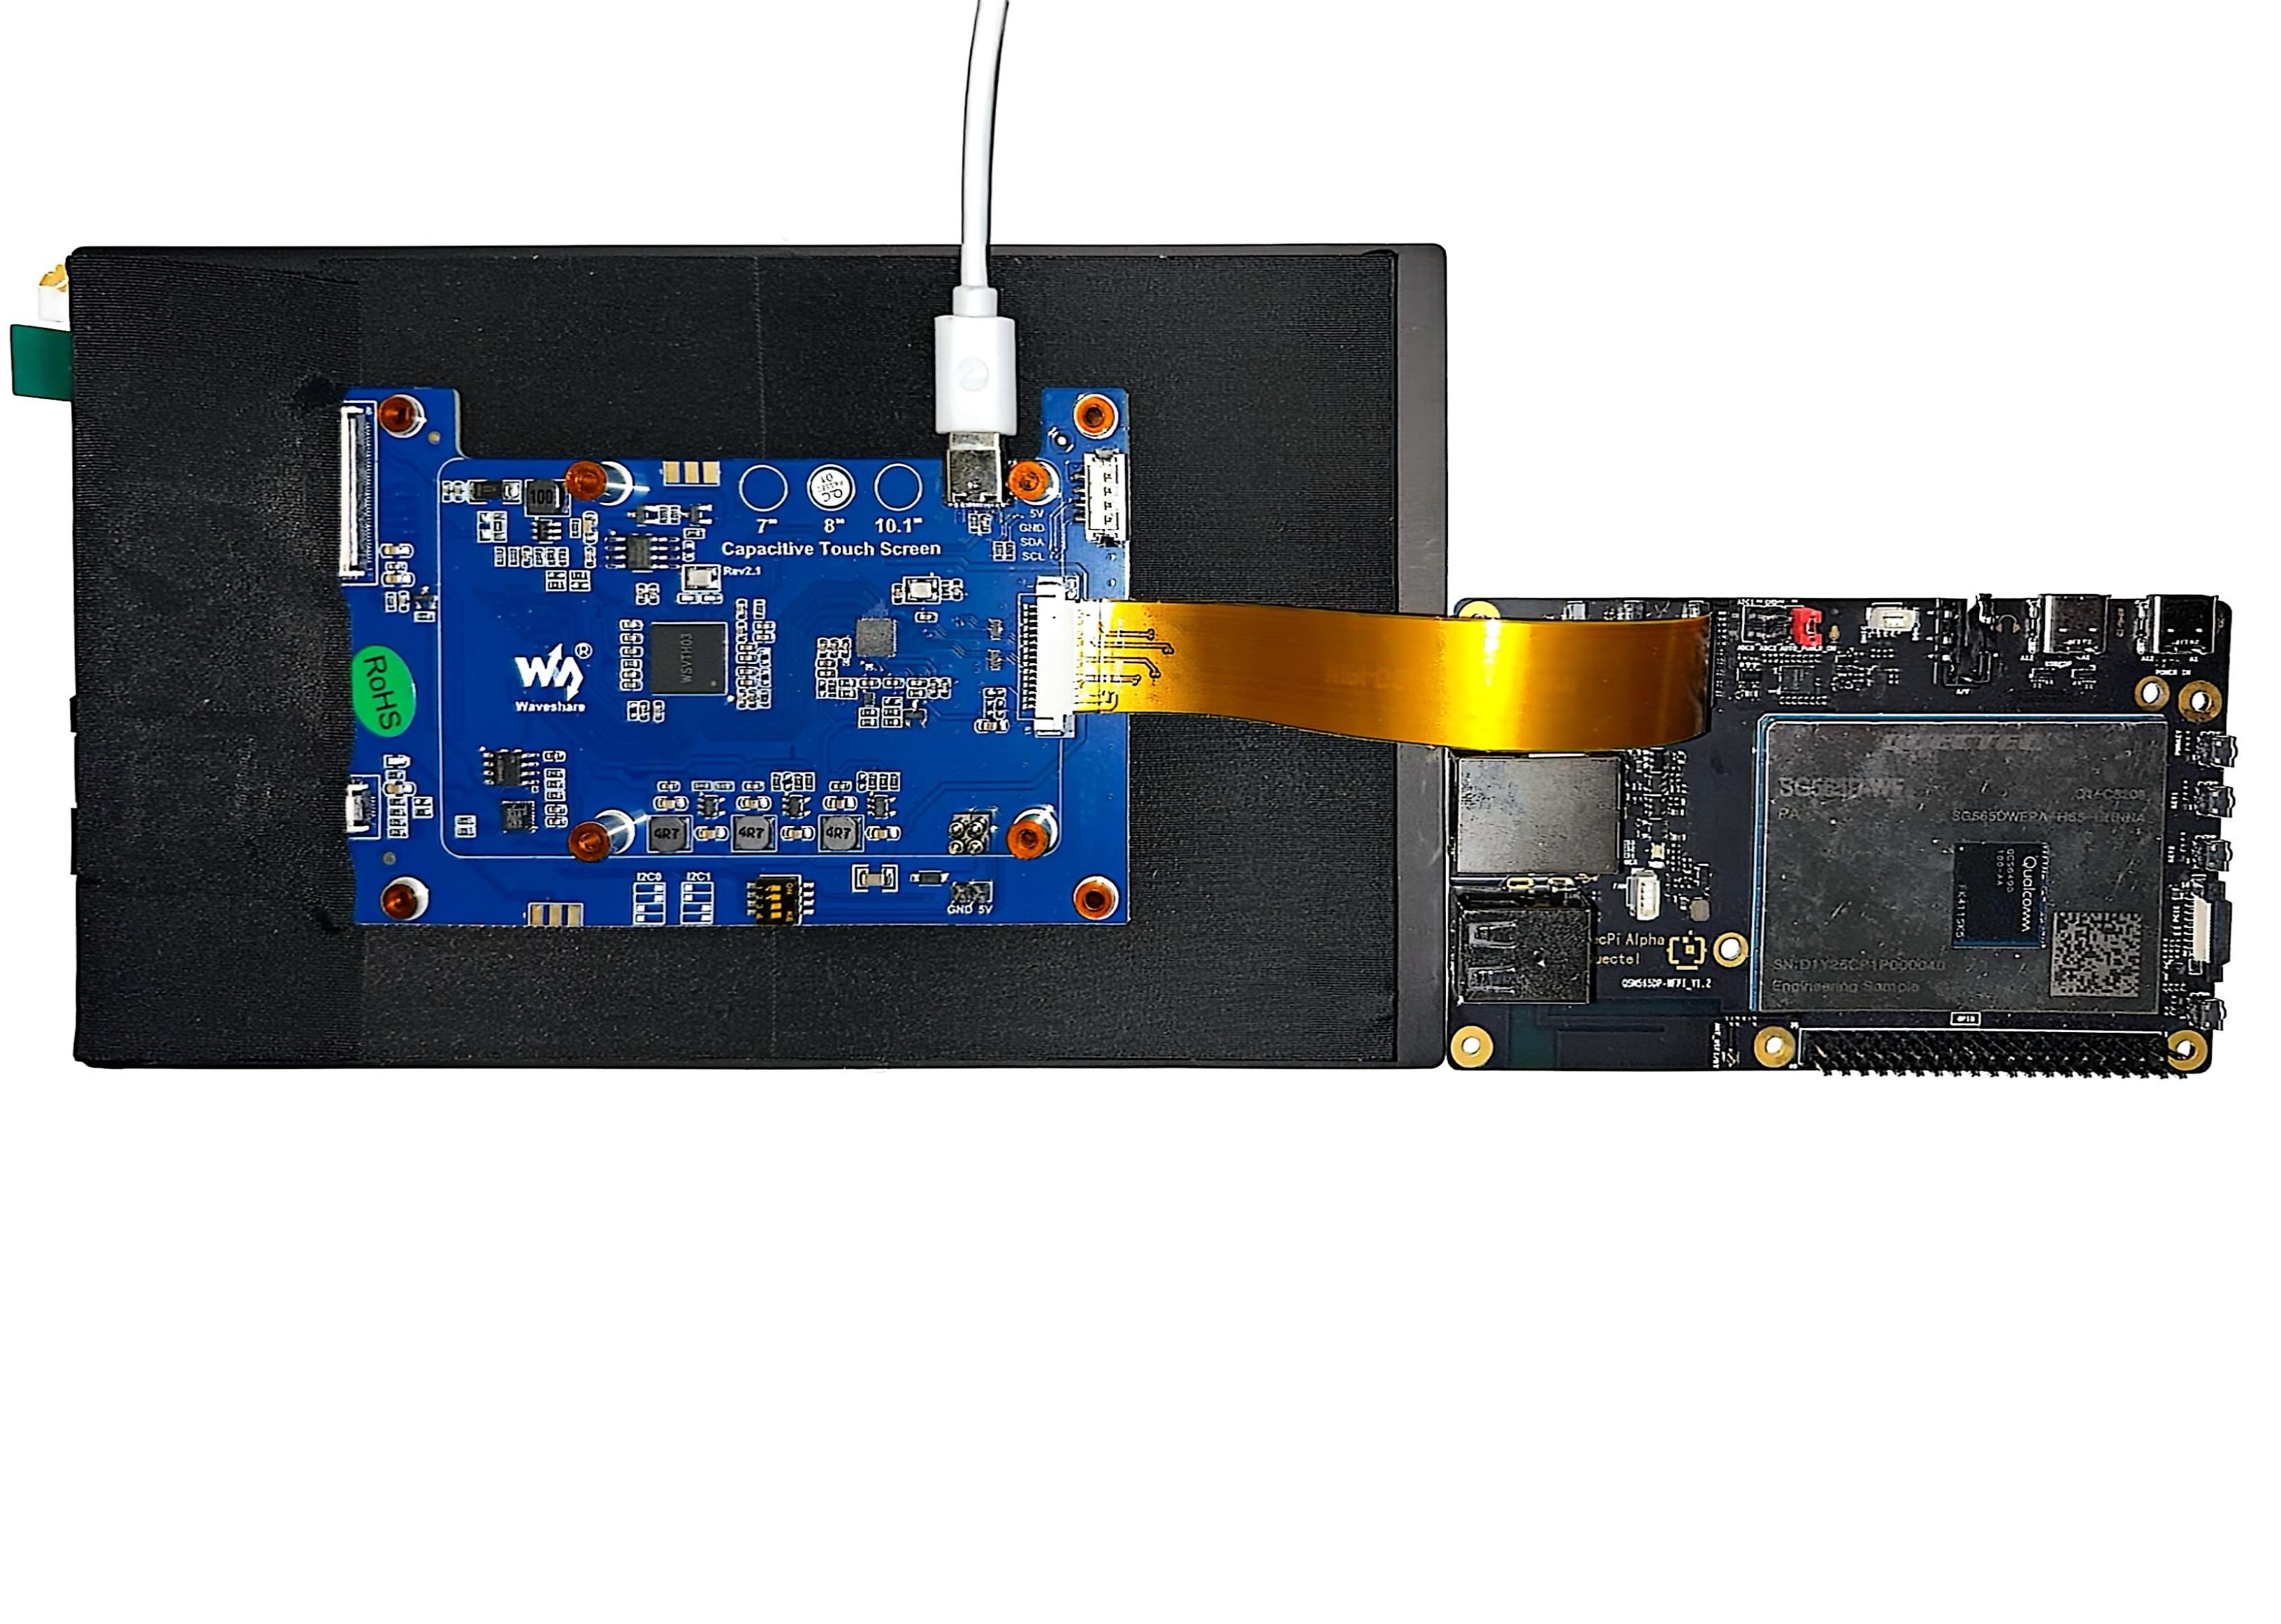
Hardware connection setup
For specific login operations, please refer to System Login
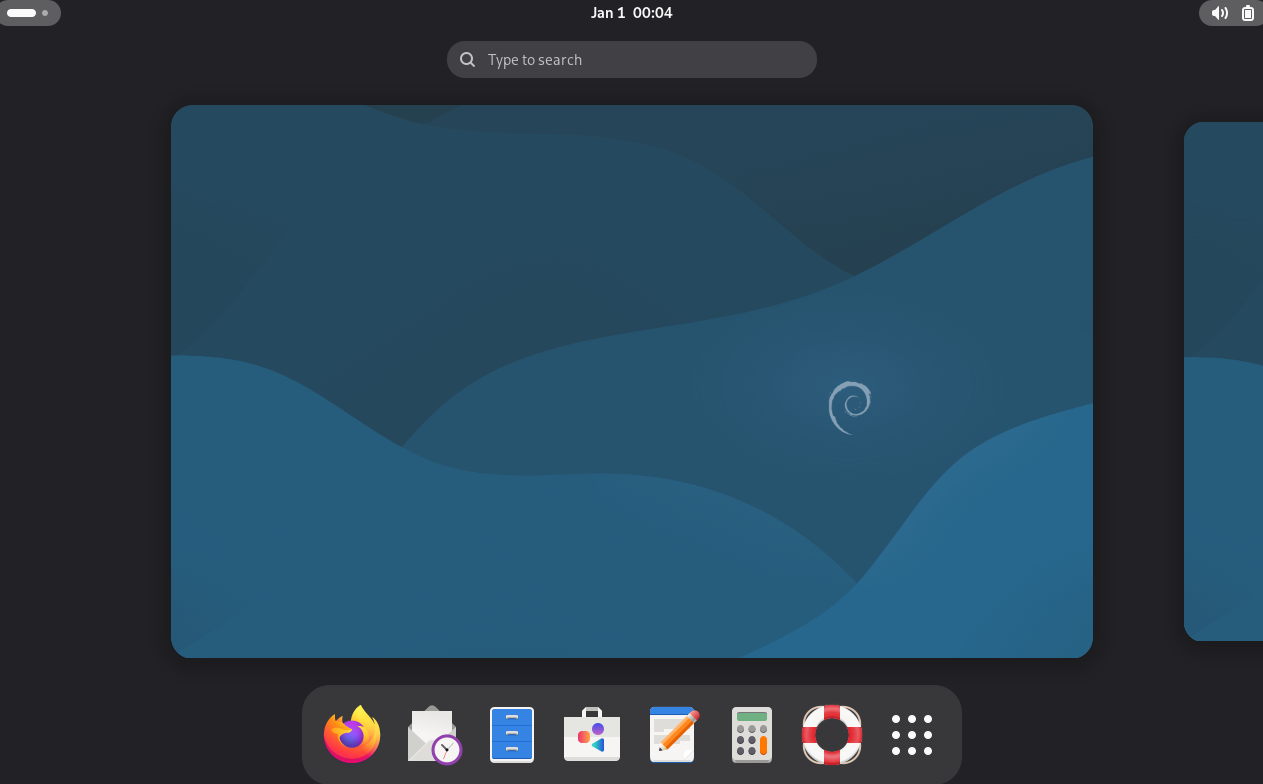
Display interface
Function usage
Adjust display brightness and volume
Note: After connecting the MIPI display, the resolution is not adjustable and is configured by developers, thus cannot be changed.
After connecting the MIPI display and powering on, enter the Gnome desktop, click the battery icon in the upper right corner, and slide the volume bar and brightness bar to adjust the volume and brightness.
The following is the operation diagram for adjusting display brightness and volume:
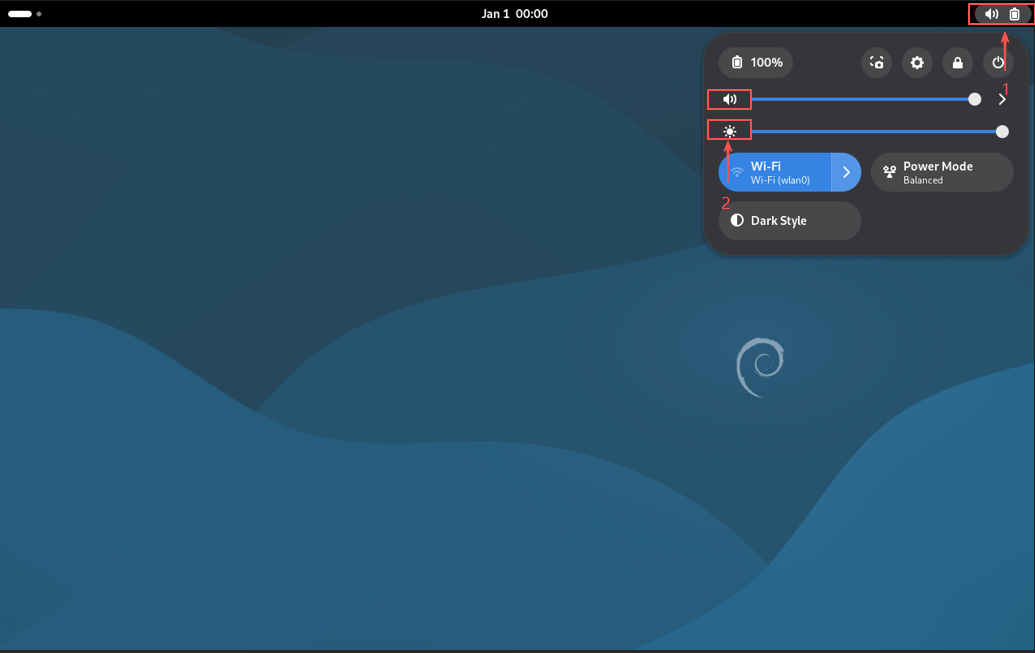
Brightness and volume adjustment
Touch function usage
After connecting the MIPI display and powering on, you can use the touch function directly.
Video playback function usage
GUI video playback: Open the Gnome desktop, find the video file in the Gnome desktop's File Manager, and click the video file to play it.
Note: Double-click the frame to play the video in fullscreen.
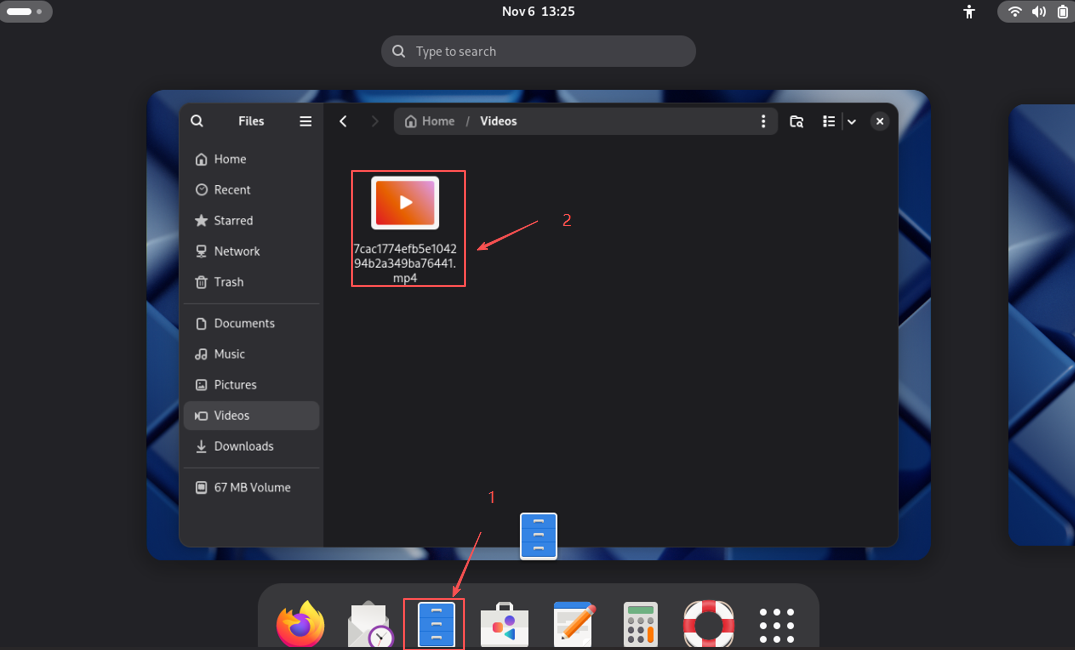
Desktop operation steps
Video playback interface
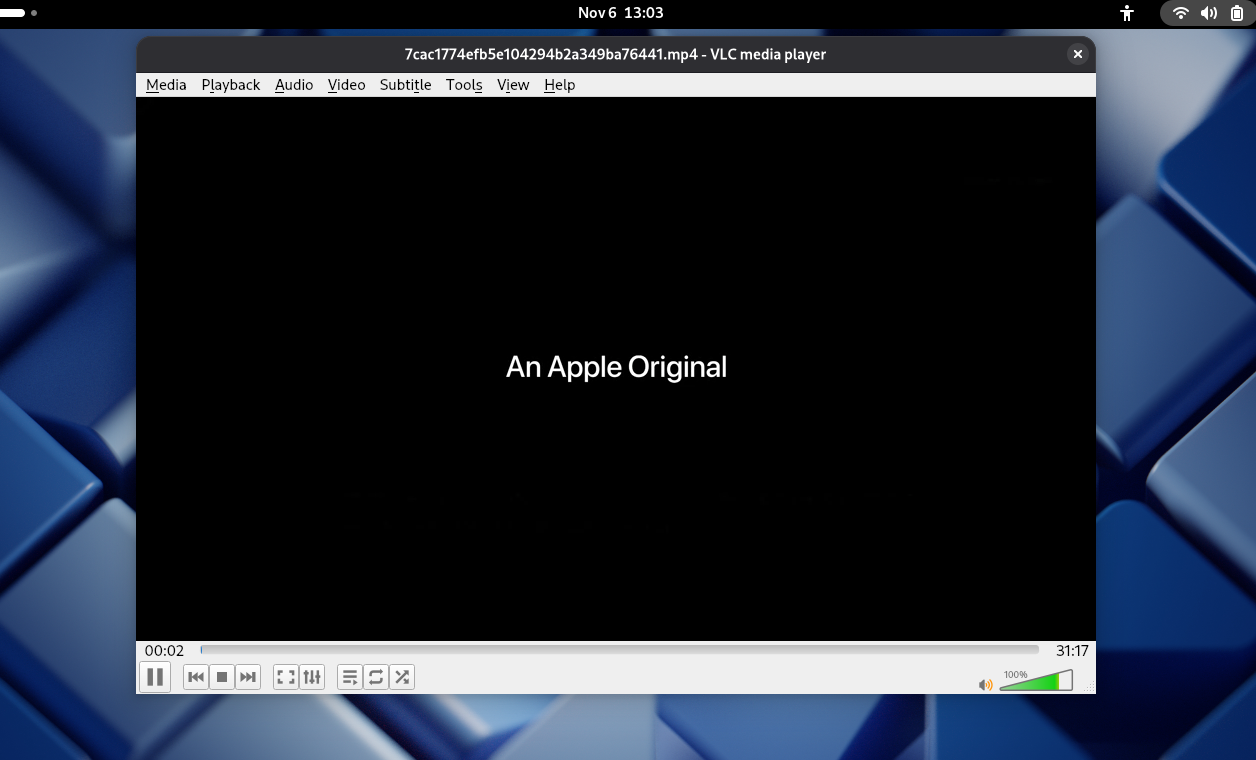
VLC command-line video playback: When playing via command line, follow these steps to enter the corresponding commands.
export LIBGL_ALWAYS_SOFTWARE=1 #Modify the environment variable of this window to switch to CPU rendering during video playback
VLC test.mp4                   #Play video
The following is the video playback interface diagram:
Video playback interface
GST command-line video playback function: When playing via command line, you need to enter the following corresponding command.
gst-launch-1.0 filesrc location=/home/pi/test.mp4 ! qtdemux ! h264parse ! avdec_h264 ! autovideosink ## The parameter after "location" should be modified according to the actual video file path
Command parameter description:
gst-launch-1.0: This is GStreamer's command-line tool for building and running a GStreamer pipeline.filesrc location=/home/pi/test.mp4: Uses thefilesrcelement to read video files from the specified path/home/pi/test.mp4.! qtdemux: Through the!symbol, connects the output of the previous element to the input of the next element.qtdemuxis responsible for demultiplexing the MP4 container format, separating the audio and video streams within it.! h264parse: Parses the separated H.264 video stream, reorganizing it into a format suitable for decoder processing.! avdec_h264: Uses the software decoderavdec_h264to decode the H.264 video stream. This is a GStreamer plugin element based on FFmpeg.! autovideosink: Automatically selects an appropriate video output component to display video content. Depending on the system environment, it selects the most suitable sink (e.g.,waylandsinkfor Wayland,ximagesinkfor X11, etc.).
The following is the video playback interface diagram:
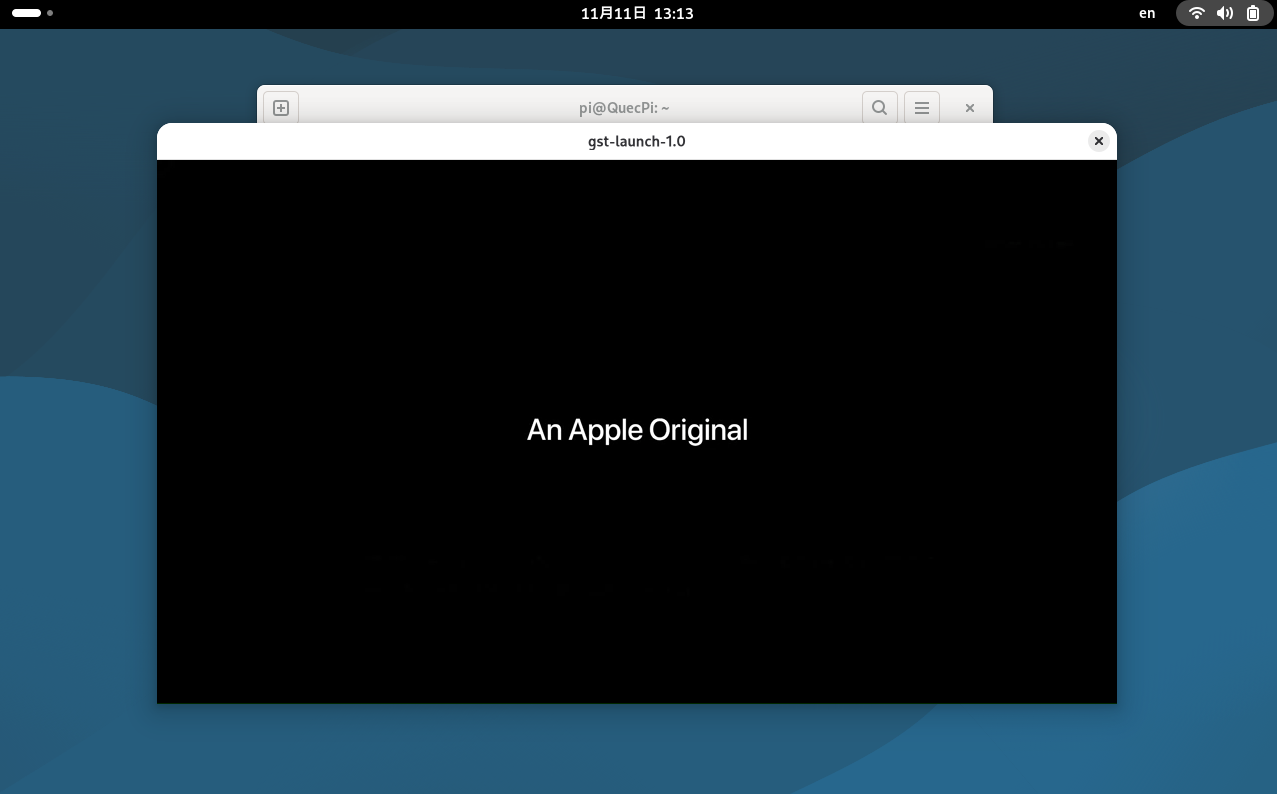
Video Playback Interface
Audio playback function usage
GUI audio playback: Open the Gnome desktop, find the audio file in the Gnome desktop's File Manager, and click the audio file to play it.
Note: To play audio, connect speakers to the Quectel-Pi-H1 single-board computer.
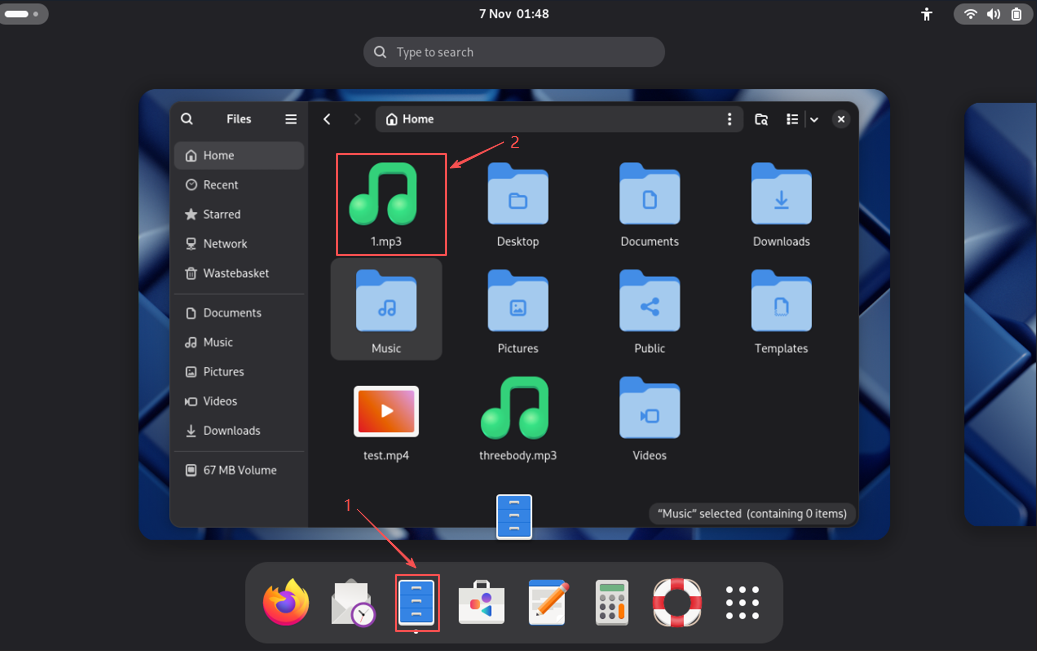
Desktop operation steps
Audio playback interface
VLC command-line audio playback function: When playing via command line, follow these steps to enter the corresponding commands.
export LIBGL_ALWAYS_SOFTWARE=1 #Modify the environment variable of this window to switch to CPU rendering during audio playback
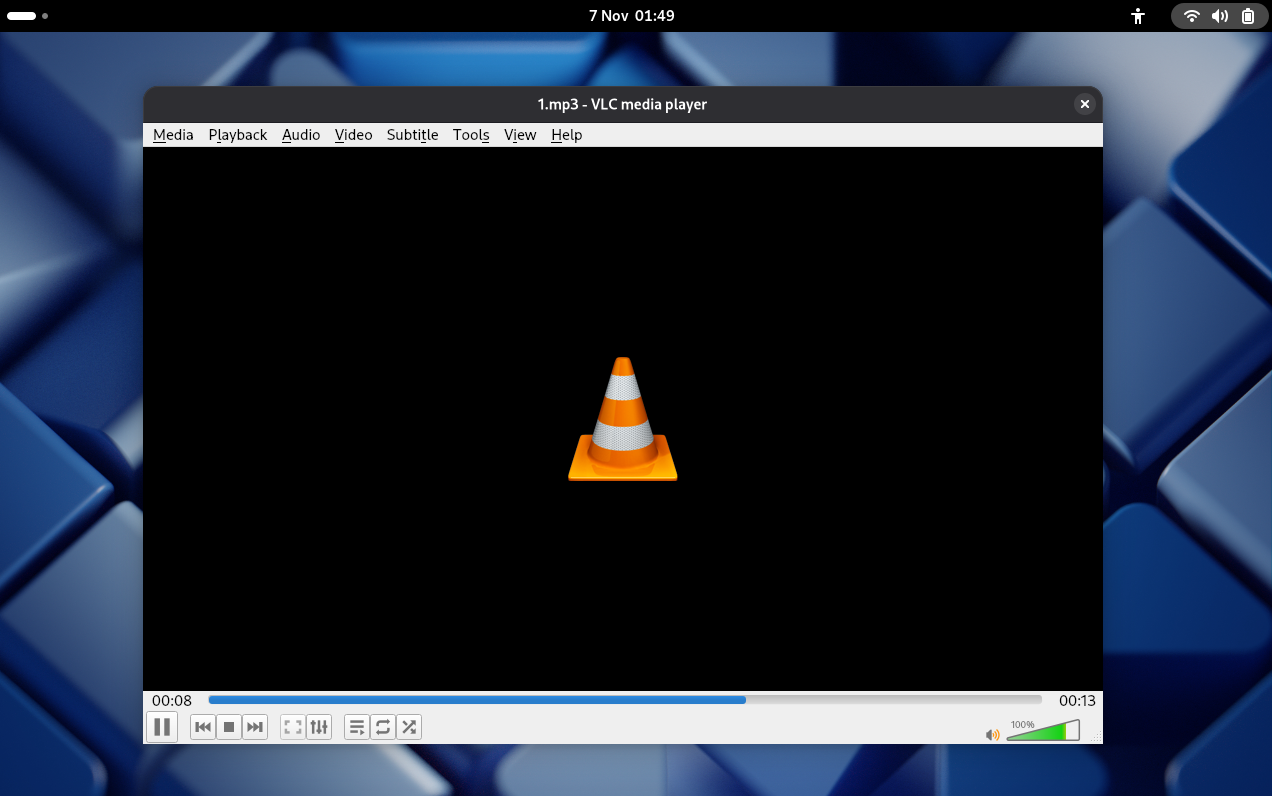
VLC 1.mp3 #Play audio
The following is the audio playback interface diagram:
Audio playback interface
GST command-line audio playback function: When playing via command line, you need to follow the steps below to enter the corresponding commands.
Note: After entering the corresponding command, the audio playback progress will be displayed in the terminal.
gst-launch-1.0 uridecodebin uri=file:///home/pi/test.mp3 ! audioconvert ! audioresample ! autoaudiosink ## The parameter after "uri" should be modified according to the actual video file path
Command parameter description:
gst-launch-1.0: This is GStreamer's command-line tool for building and running a GStreamer pipeline.uridecodebin uri=file:///home/pi/test.mp3: Uses theuridecodebinelement to read and automatically decode audio files from the specified URI pathfile:///home/pi/test.mp3. This is an advanced element that can automatically detect media types and select appropriate demuxers and decoders.! audioconvert: Through the!symbol, connects the output of the previous element to the input of the next element.audioconvertis used to convert audio formats, ensuring audio format compatibility between adjacent elements.! audioresample: Resamples the audio, adjusting the audio sample rate to match the requirements of subsequent elements.! autoaudiosink: Automatically selects an appropriate audio output component to play audio content. Depending on the system environment, it selects the most suitable audio output device, such as ALSA, PulseAudio, or other available audio backends.
The following is the audio playback interface diagram:
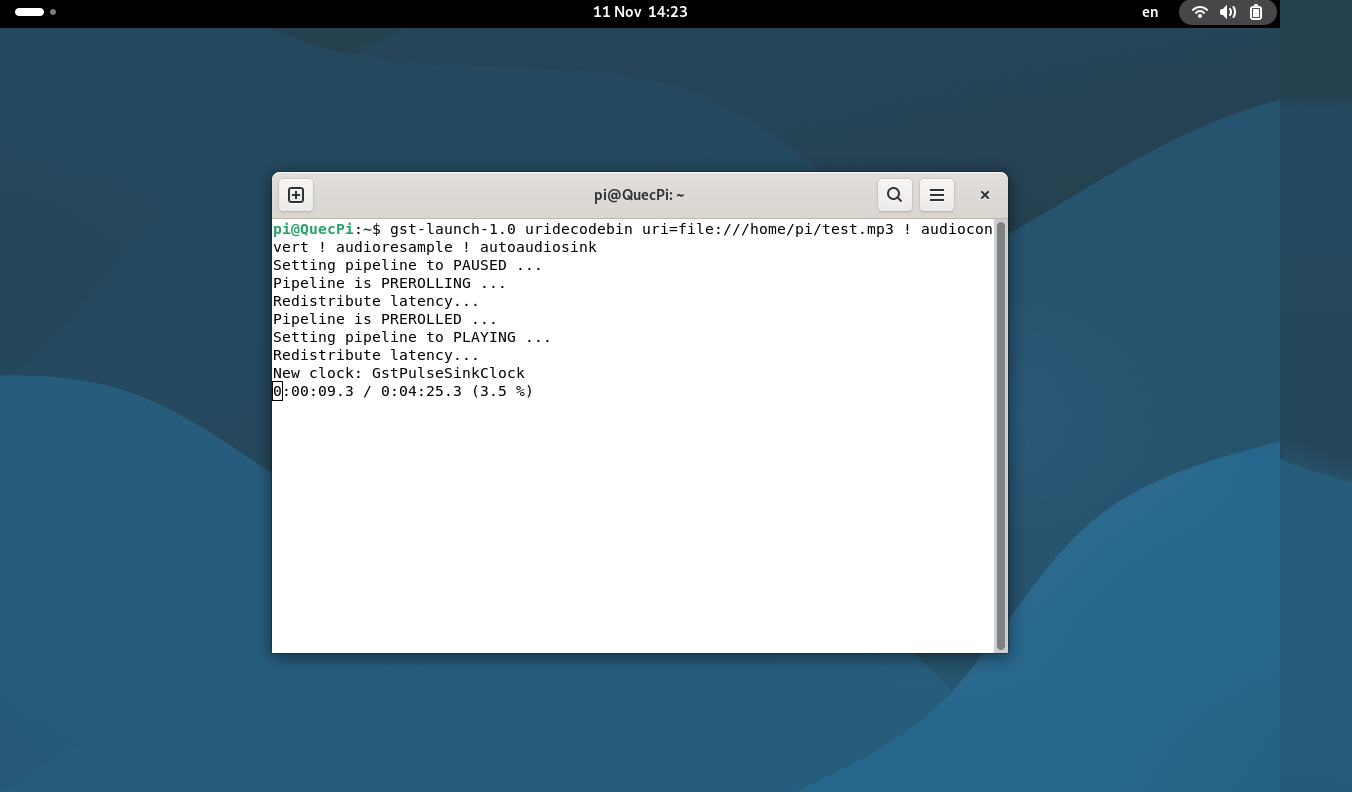
Audio playback interface
Advanced function
Dual display connection
Dual display function allows simultaneous display on both MIPI and HDMI displays on the single-board computer.
Note: To use this function, connect the MIPI display and connect an HDMI display via the DP interface using an adapter.
Follow the diagram below for connection:

Dual display configuration
After connecting the hardware, the system will automatically detect both display devices. By default:
The MIPI display serves as the primary display showing the complete desktop environment, while the HDMI display serves as an extended display for extended viewing.
You can switch dual display modes through the following methods:
- Open Settings → Displays.
- In the display settings, you can see the identification for both displays.
The display identification is shown below:
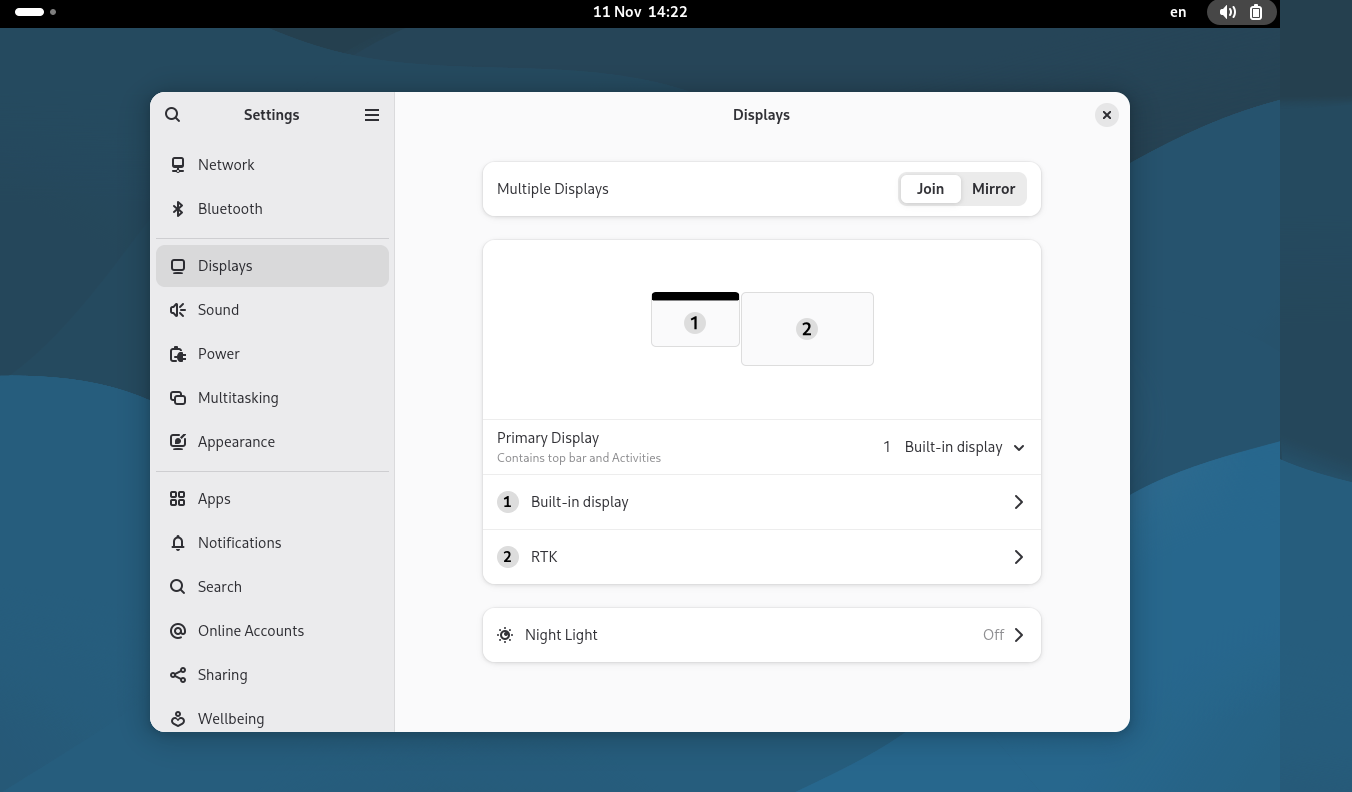
3. Select the desired display mode:
- Joined display: Two displays show different content and can be operated independently.
- Mirrored display: Both displays show the same content.
Dual display precautions
- When using dual display, it is recommended to use a power supply with better performance.
- When the two displays have different resolutions, display outputs may vary.
- Some applications may need window positions readjusted to adapt to the dual-display environment.
Application scenarios
- Media entertainment terminal: The Quectel Pi H1 single-board computer can serve as a media entertainment terminal for playing videos, music, and viewing photos.
- Industrial data visualization platform: The Quectel Pi H1 single-board computer can serve as an industrial data visualization platform to display industrial data, monitor device status, and process data.
- Smart interactive terminal: The Quectel Pi H1 single-board computer can serve as a smart interactive terminal for various human-machine interaction applications.
Troubleshooting
How to view system logs
To view system logs, you need to connect the serial cable to a computer and use a serial debugging tool to view the logs.
Black screen issue
After properly connecting the device, if the display shows a black screen after powering on, it may be due to the following situations:
- Power connection issue
Check if the display's power supply interface is properly connected. Confirm that at least one of the 4 power supply interfaces is correctly connected. Ensure the power screws are tightened, and the pogo pins make good contact with the 40-pin interface. - Connection issue
Check if the MIPI cable is properly connected and securely inserted. Confirm the cable direction is correct to avoid reverse insertion. Check the connector for physical damage. - System startup issue
Confirm the system has started properly and loaded the display service. View system logs to confirm the display driver is loaded properly.
Screen artifact issue
After properly connecting the device, if the display shows screen artifact after powering on, it may be due to the following situations:
- Signal interference
heck if the MIPI cable is too long or of poor quality. Confirm whether there are strong electromagnetic interference sources around the cable. Try replacing it with a high-quality MIPI cable. - Hardware compatibility issue
Confirm the display model used is fully compatible with Quectel Pi H1. Check if the display firmware version is up to date.
Touch function abnormality
Touch function abnormality may be due to the following situations:
- Driver issue
Confirm the system has loaded the touchscreen driver correctly. Check if I2C communication is established properly. - Calibration issue
If the touch position is inaccurate, you may need to recalibrate the touchscreen through the touchscreen calibration tool in system settings.