
Quick Start for PI-SG565D Single-Board Computer
This chapter is based on the PI-SG565D development kit and explains how to quickly get started with the PI-SG565D single-board computer.
Click here to view the user guide for the PI-SG565D development kit.
Hardware Setup
Preparation
Before starting the connection, please ensure the following items are ready:
- The complete PI-SG565D development kit (check against the "kit list" for no missing items).
- Additional items to prepare:
- A power adapter supporting 5V/5A, 9V/3A, or PD fast charging protocol.
- A monitor supporting USB-C DP or HDMI (resolution is recommended to be 1080P or higher).
- USB keyboard + mouse (wired or wireless, need to be connected to the USB port of the single-board computer).
- A router with internet access (for network debugging of the single-board computer).
Hardware Connection (Key Steps, Operate in Order)
⚠️ Warning
Please disconnect all power sources during the connection process to avoid hardware damage caused by hot-plugging interfaces!
The PI-SG565D comes pre-installed with the Debian 13 system image from the factory, so there is no need to re-flash the image. Just follow the steps below:
Display Connection:
Option 1 (High Definition): Connect one end of the USB-C DP display cable to the USB&DP interface of the single-board computer, and the other end to the USB-C interface of the monitor;
Option 2 (Compatibility): Connect one end of the HDMI cable to the HDMI interface of the single-board computer, and the other end to the HDMI interface of the monitor.
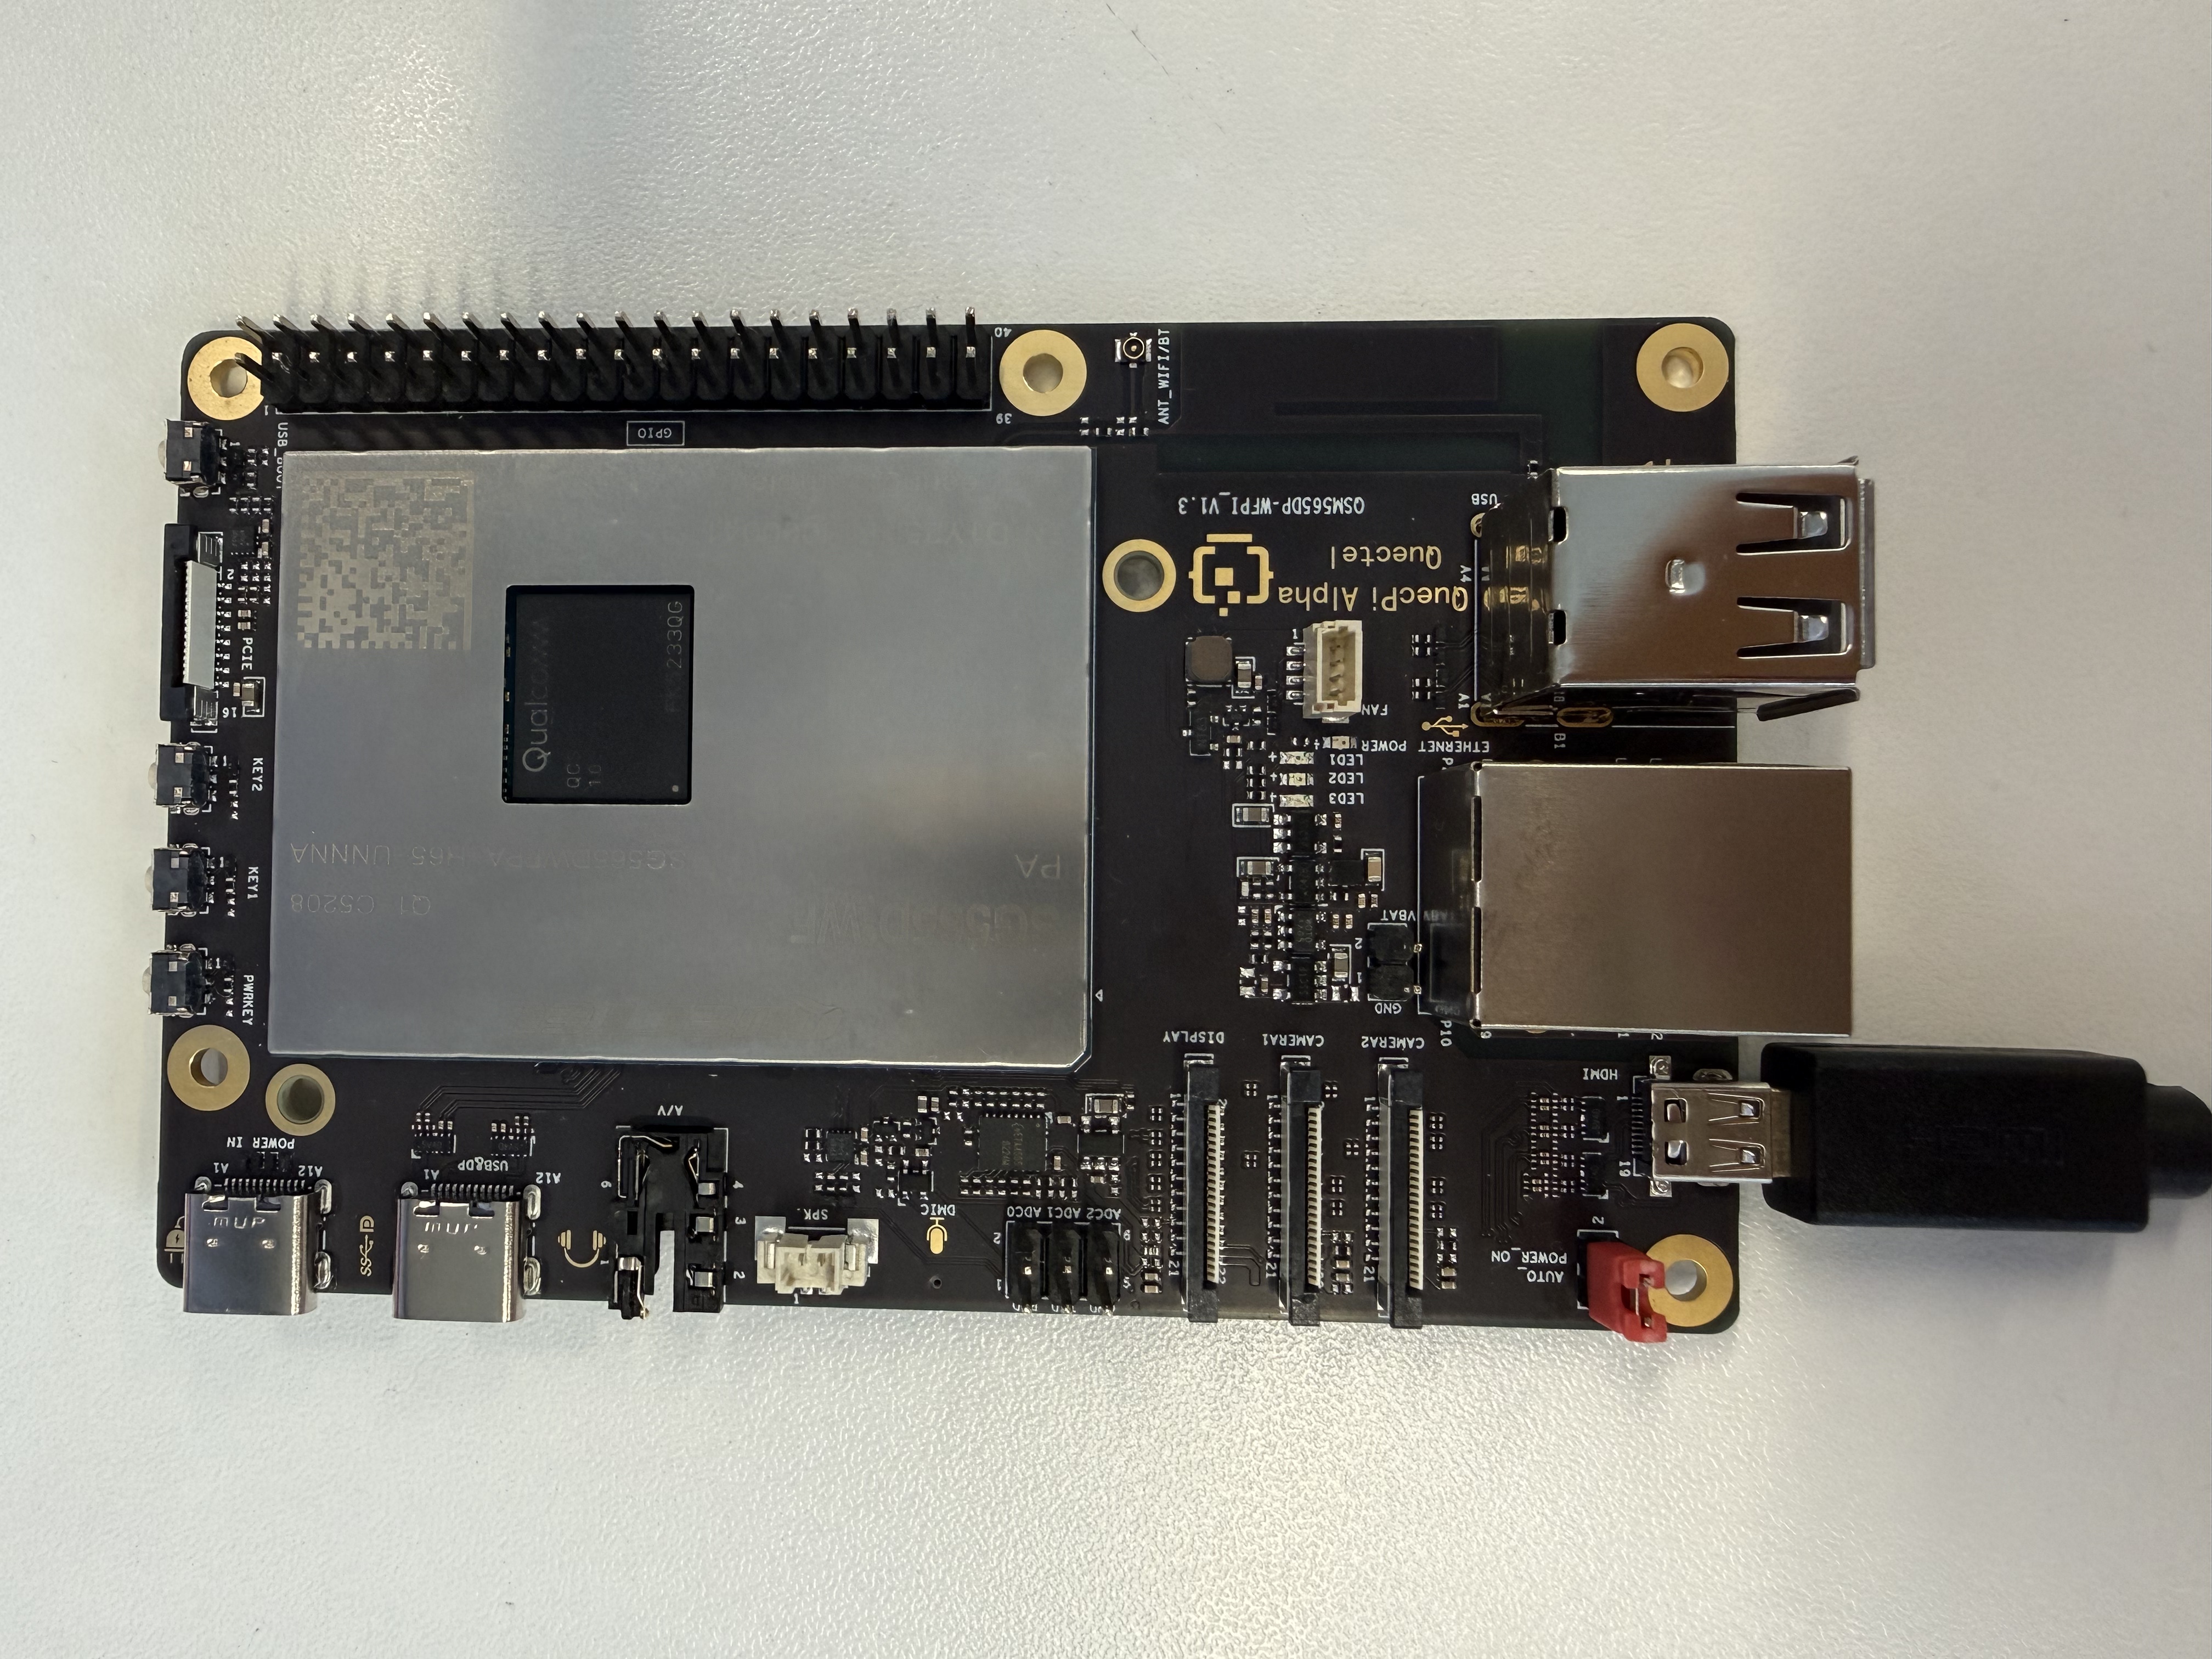
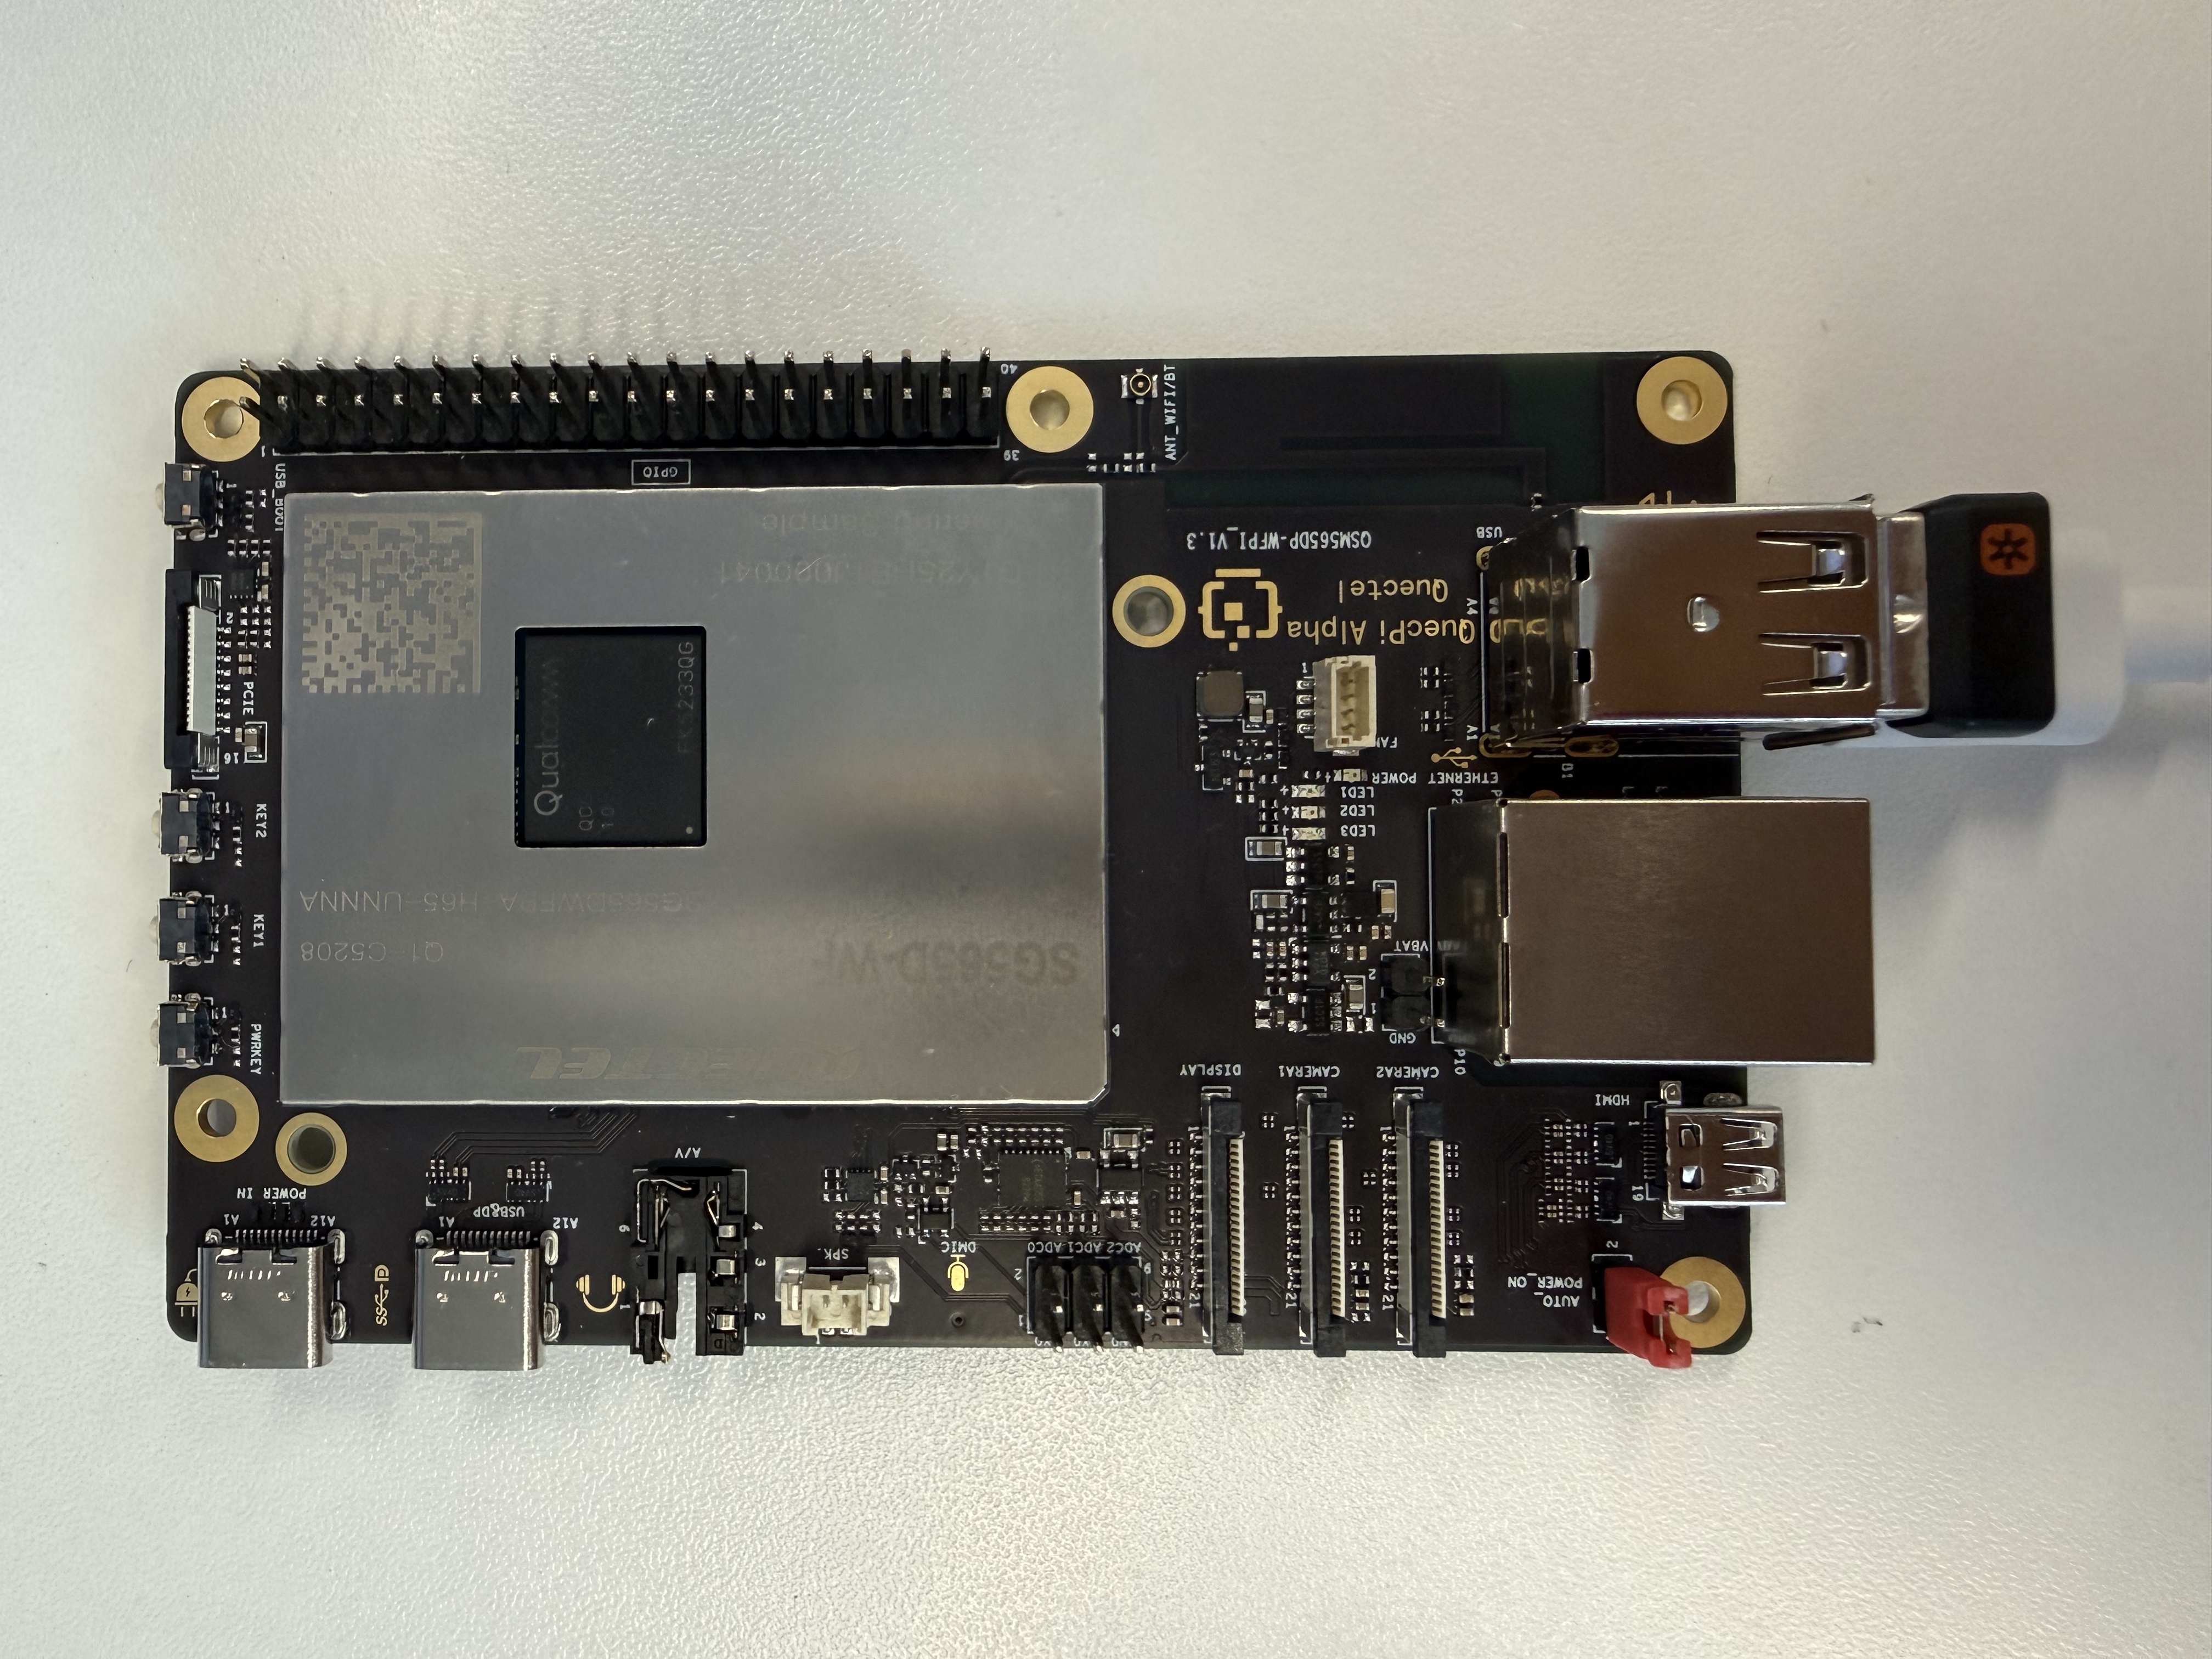
Peripheral Connection: Connect the USB keyboard and mouse to the two USB-A interfaces of the single-board computer; for wireless keyboard and mouse, insert the receiver into the USB port.
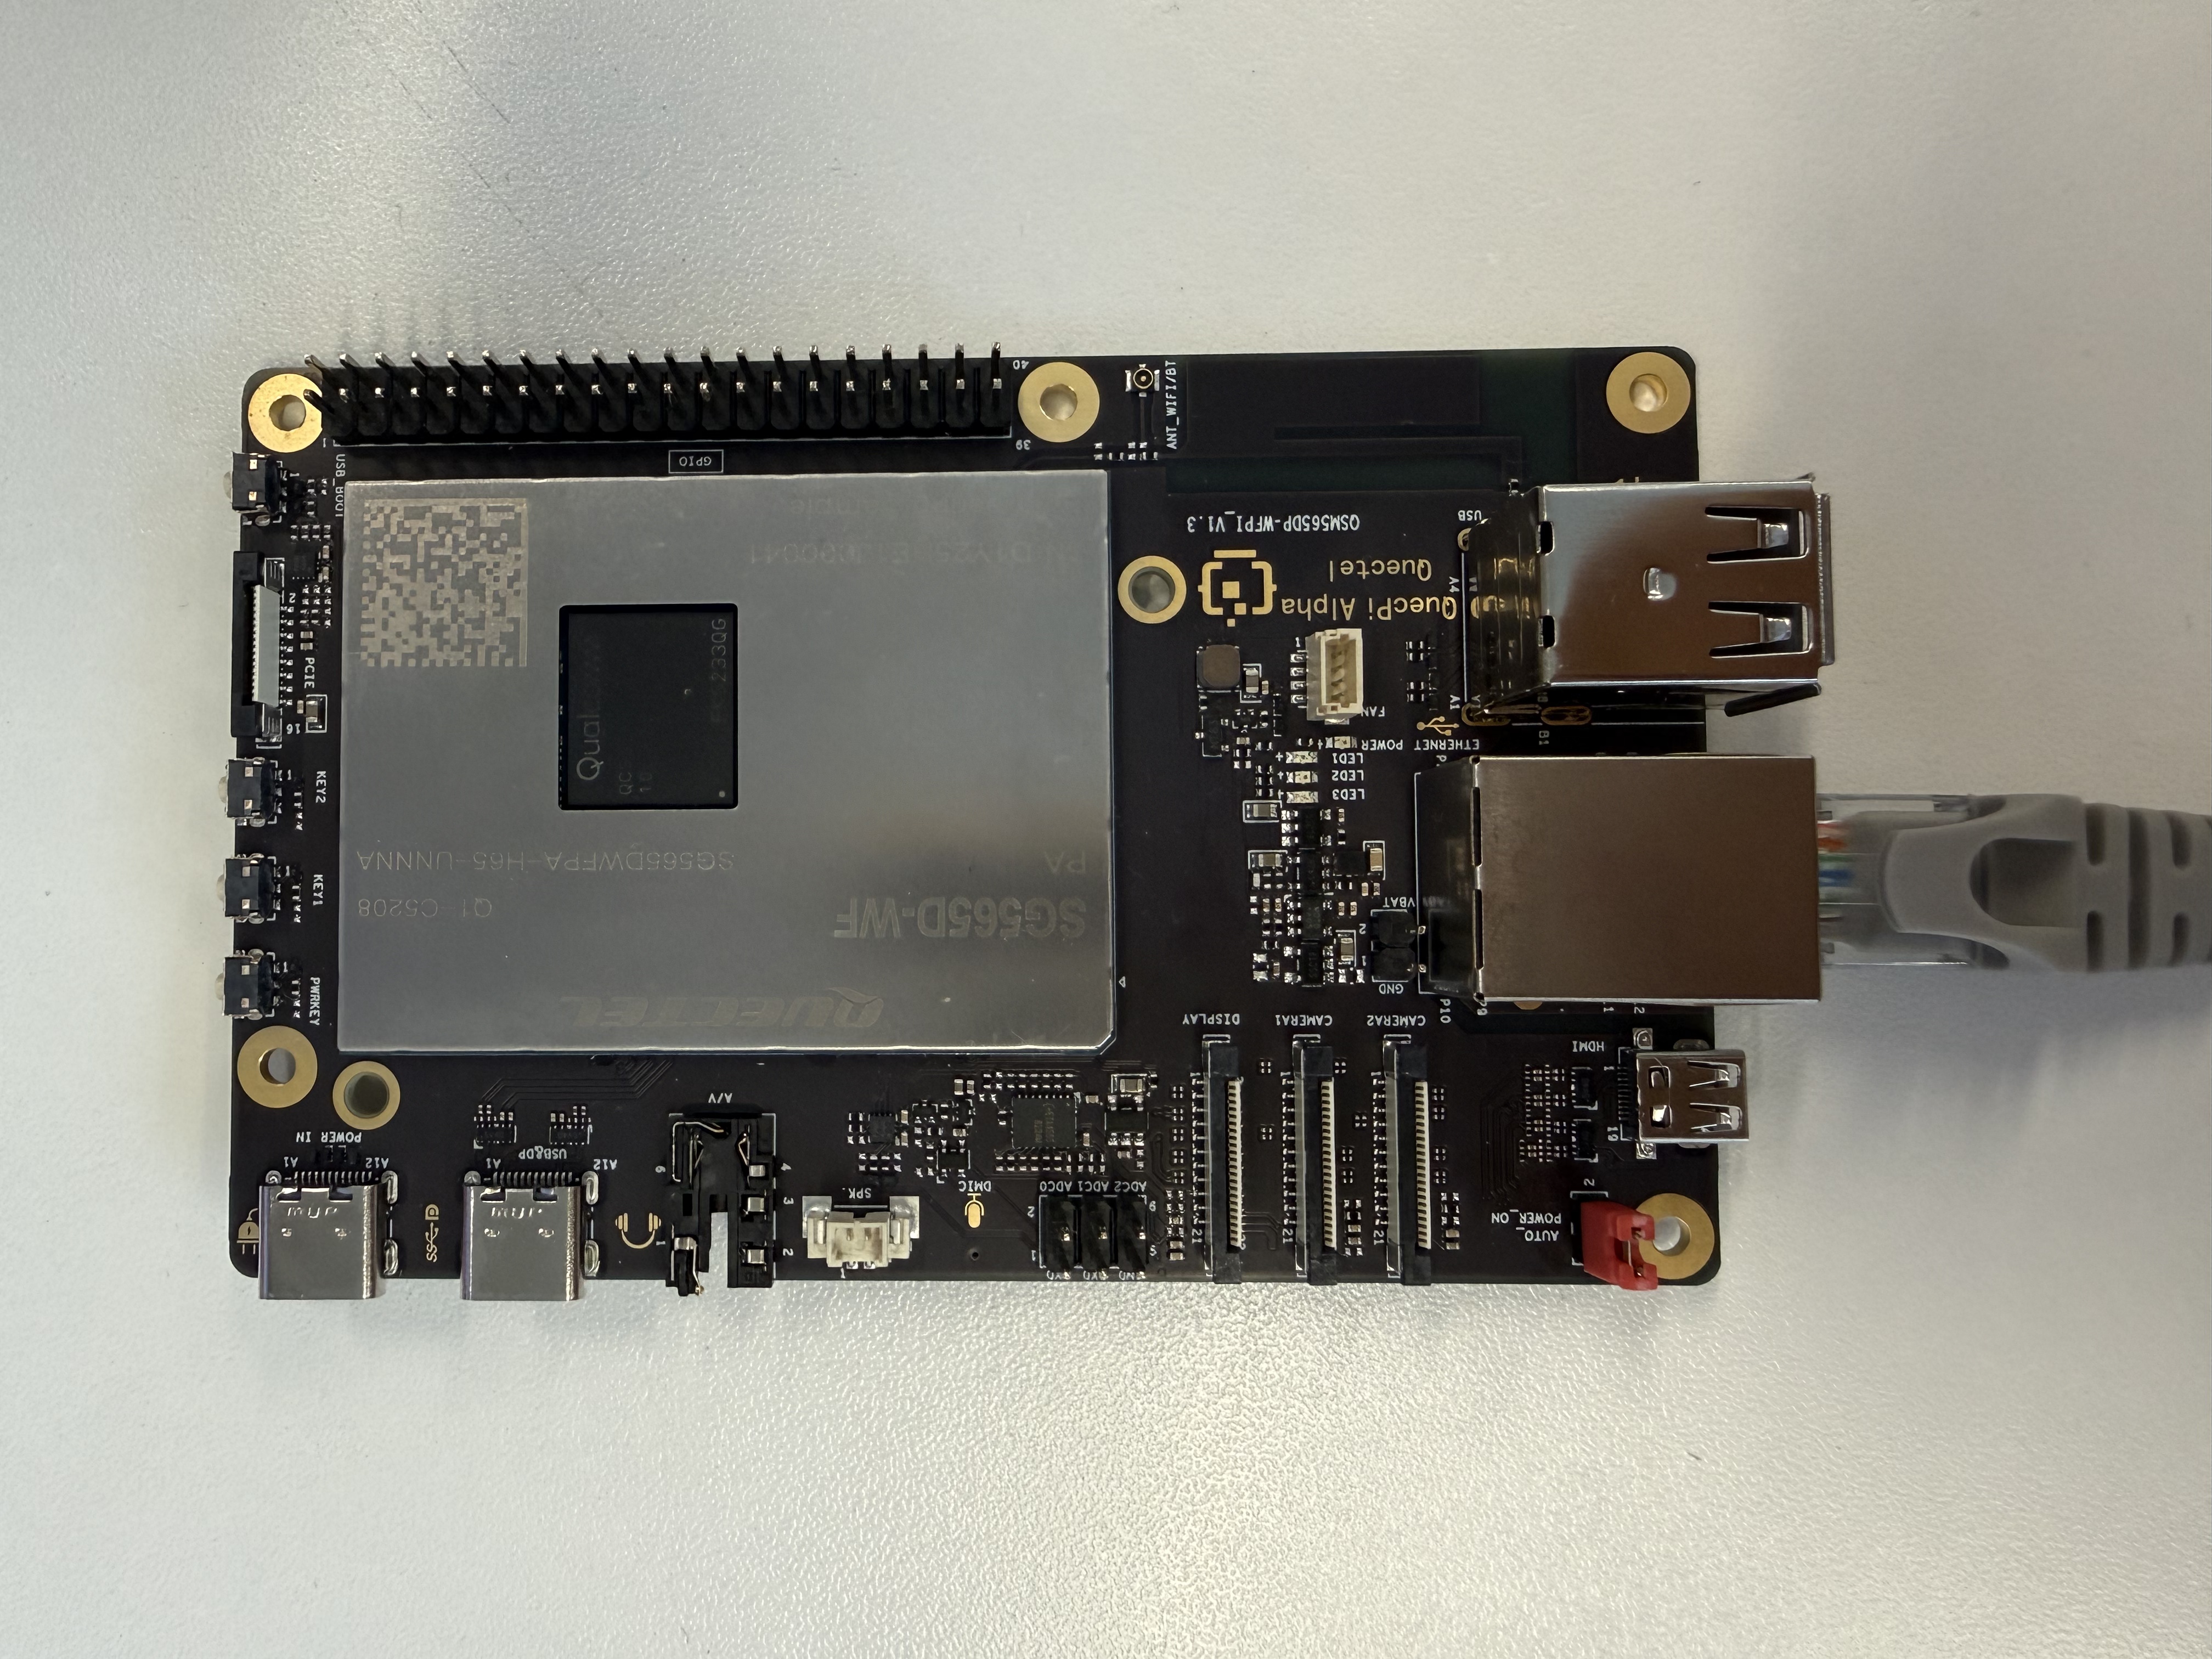
Network Connection: Connect the network port of the single-board computer to the LAN port of the router using a network cable.
Jumper Cap Connection: Ensure that the pin header marked with
AUTO_POWER_ONin the upper left corner of the single-board computer is shorted with a jumper cap.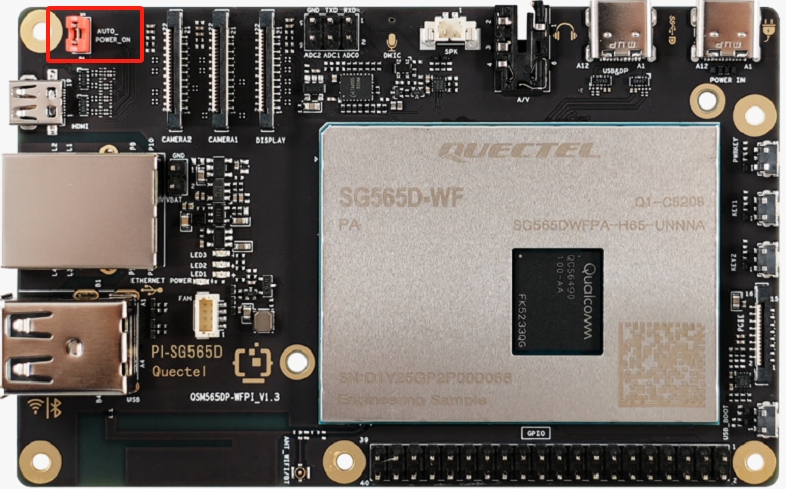
Power Supply Connection: Finally, connect the USB-A end of the USB-A power cable to the power adapter, and the USB-C end to the power port of the single-board computer (usually marked
POWER IN).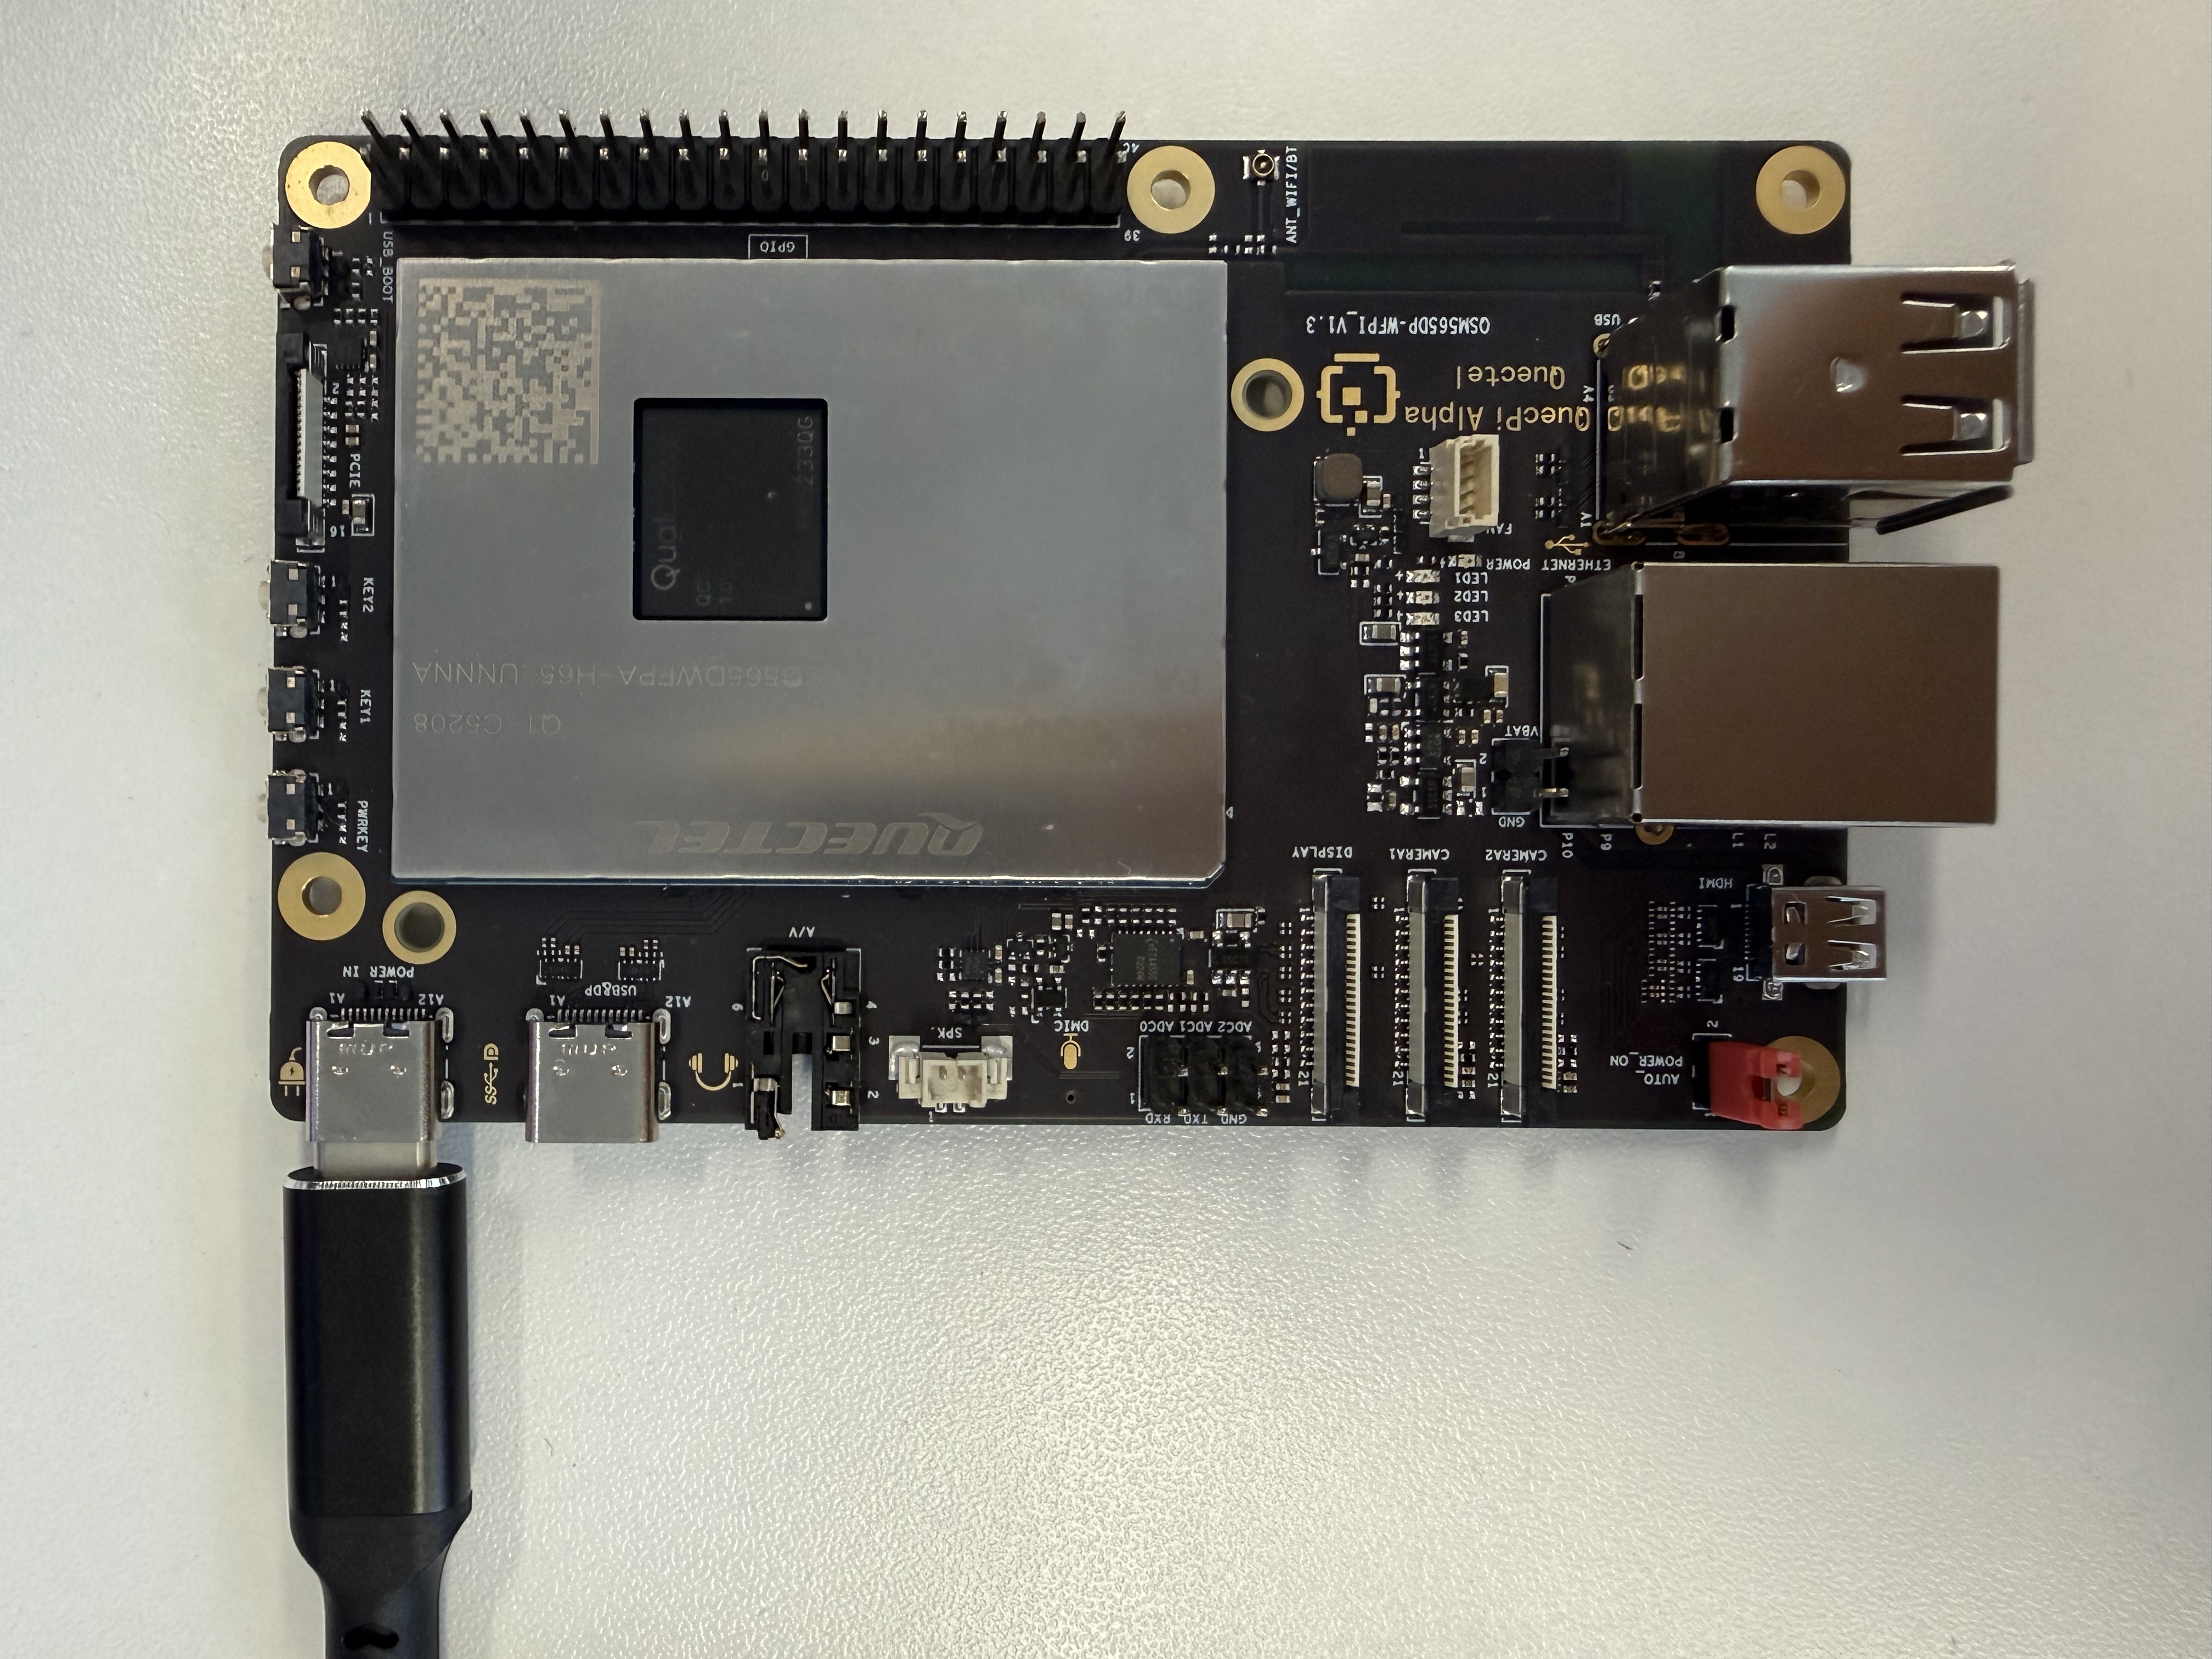
System Startup, Login and Update
Start the System:
⚠️ If the pin header marked
AUTO_POWER_ONwas not shorted with a jumper cap during the previous hardware connection, you need to first long-press thePWRKEYbutton on the right side of the single-board computer, then turn on the power until the system starts.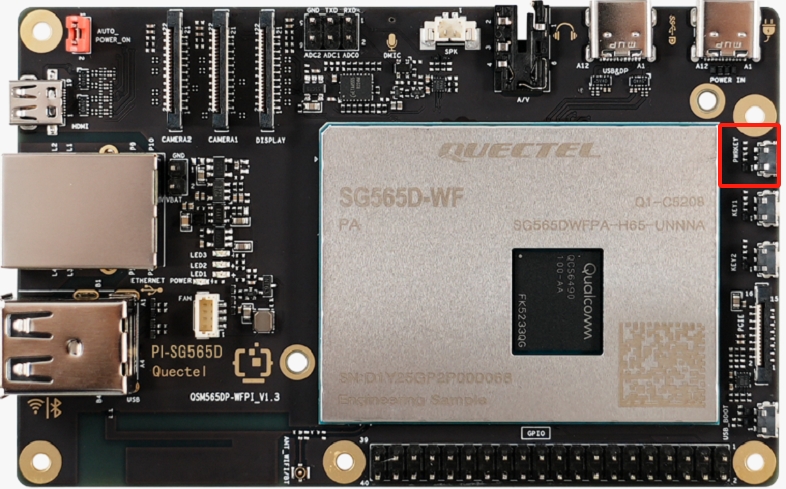
- Turn on the monitor power and confirm that the monitor input source has been switched to the corresponding interface (such as USB-C or HDMI).
- Turn on the power of the single-board computer (plug in the power cable). At this time, the power indicator (usually red) of the single-board computer will be on steadily, and the system indicator (usually green) will flash, indicating that the system is starting.
- Wait for about 1-2 minutes, and the monitor will display the system login interface.
System Login:
The default username is
piand the password isquecpi.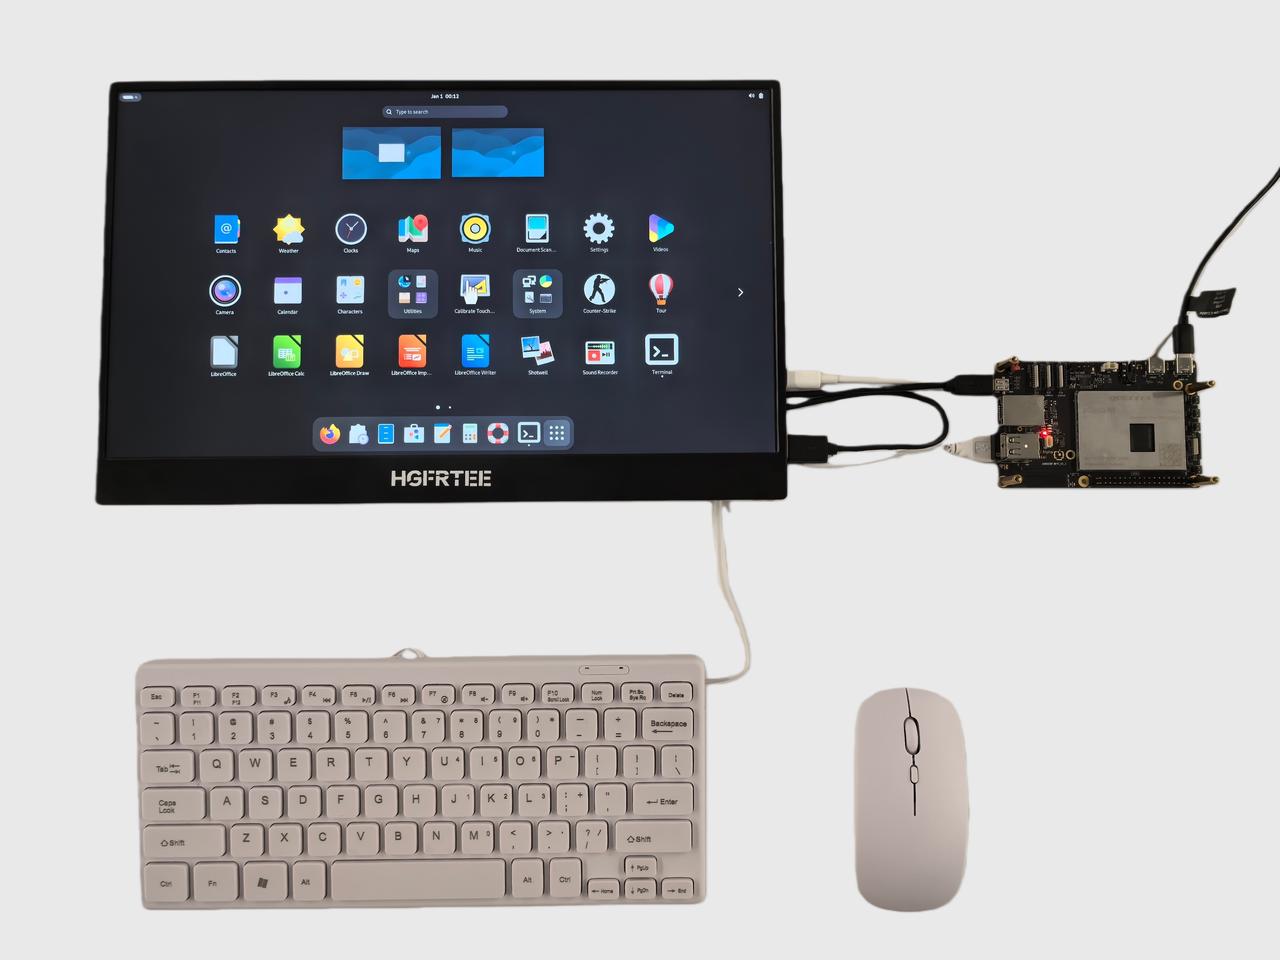
System Update:
- Open the terminal (shortcut key
Ctrl+Alt+T) and enter the following command to update the system (ensure the network is connected):
sudo apt update && sudo apt upgrade -y- Open the terminal (shortcut key
‼️ If the system fails to start normally, please re-flash the system image
- Click to download Debian13 image
- Click here to download and install USB driver .
- Use a power adapter that meets the requirements to power the single-board computer
- Connect the USB&DP interface of the single-board computer to the computer
- Image burning tutorial
Basic Function Verification
After startup, quickly verify whether the core accessories are working properly:
- Display Verification: Confirm that the monitor can clearly display the desktop, and window dragging is smooth without freezing or screen distortion;
- Network Verification: Open a browser and enter any URL (such as www.baidu.com), or enter
ping 8.8.8.8in the terminal (to test external network connectivity). If data packets are returned, the network is normal; - USB Peripheral Verification: Enter characters with the keyboard and drag windows with the mouse to confirm that the keyboard and mouse respond normally.
helloworld
Set Up the Development Environment
After logging into the Debian system of PI-SG565D, open a terminal window, enter the following command and press Enter to install the necessary development environment:
sudo apt update && sudo apt install vim gawk gcc g++ build-essential chrpath socat wget diffstat file unzip tar locales zstd debianutils iputils-ping cpio python3 python3-pip net-tools git make cmake
Compile and Run helloworld
Create a
helloworld.cfile in the~/Desktopdirectory.Copy the following code snippet and paste it into the
helloworld.cfile:#include <stdio.h> int main(void) { printf("hello world\r\n"); return 0; }Execute the following commands to compile the code:
cd ~/Desktop
gcc helloworld.c -o helloworld
Execute the following command to run the helloworld program:
./helloworldThe program running result is printed as:
pi@QuecPi:~/Desktop$ ./helloworld
pi@QuecPi:~/Desktop$ hello world
pi@QuecPi:~/Desktop$
More Functions
Click here to view more functional experiences of the PI-SG565D single-board computer.